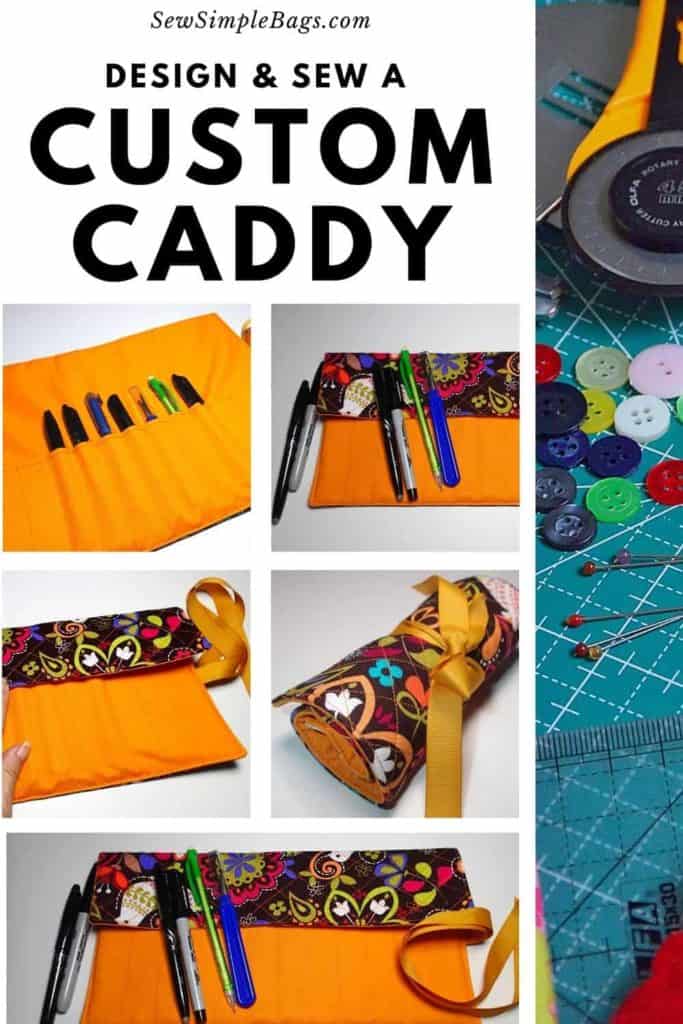
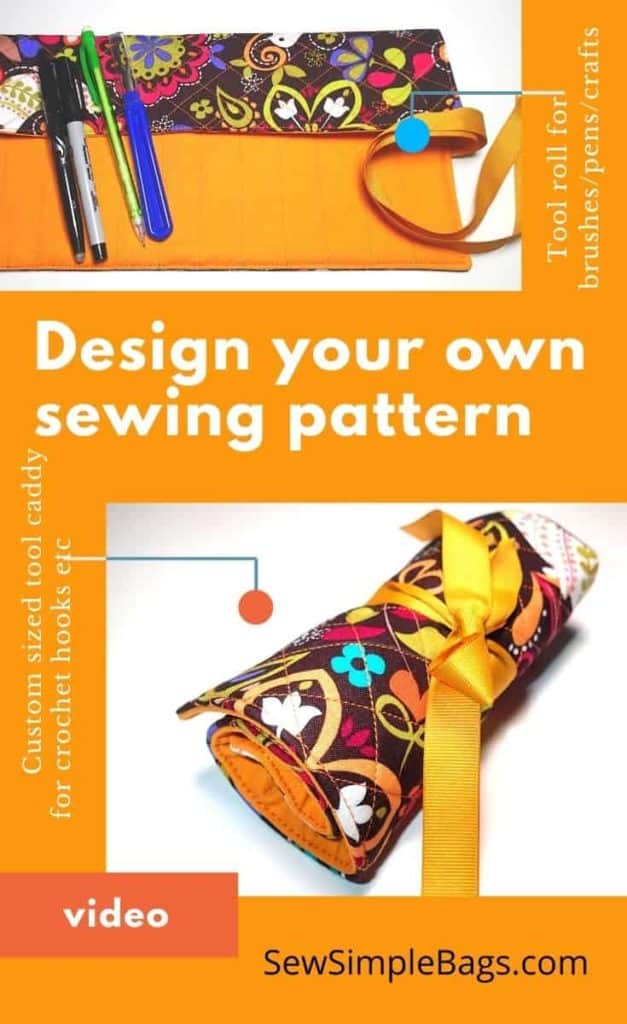
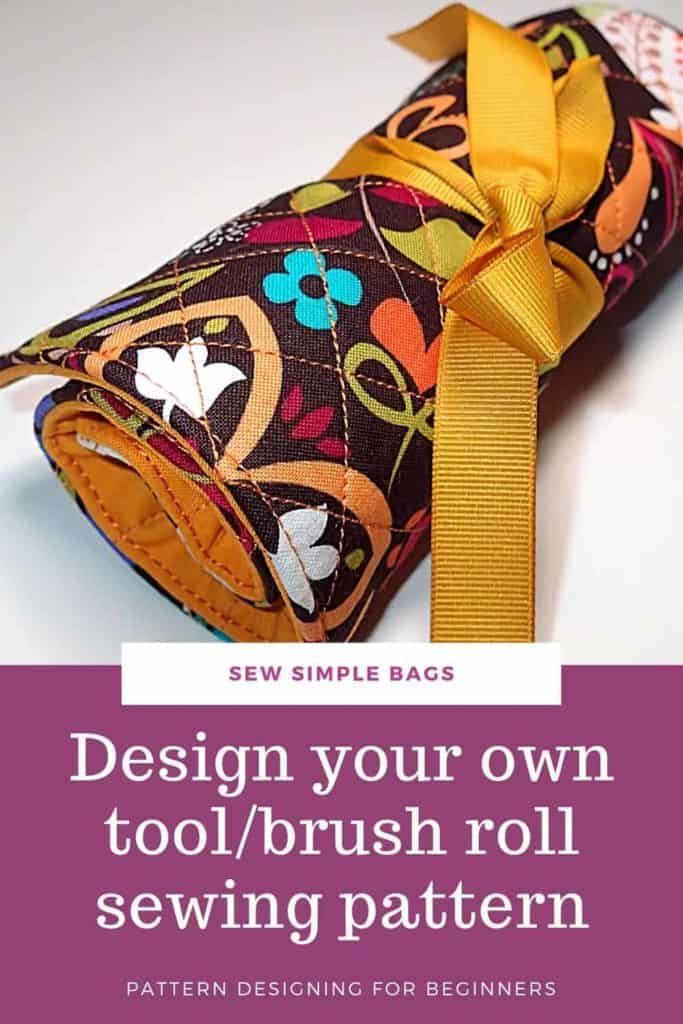
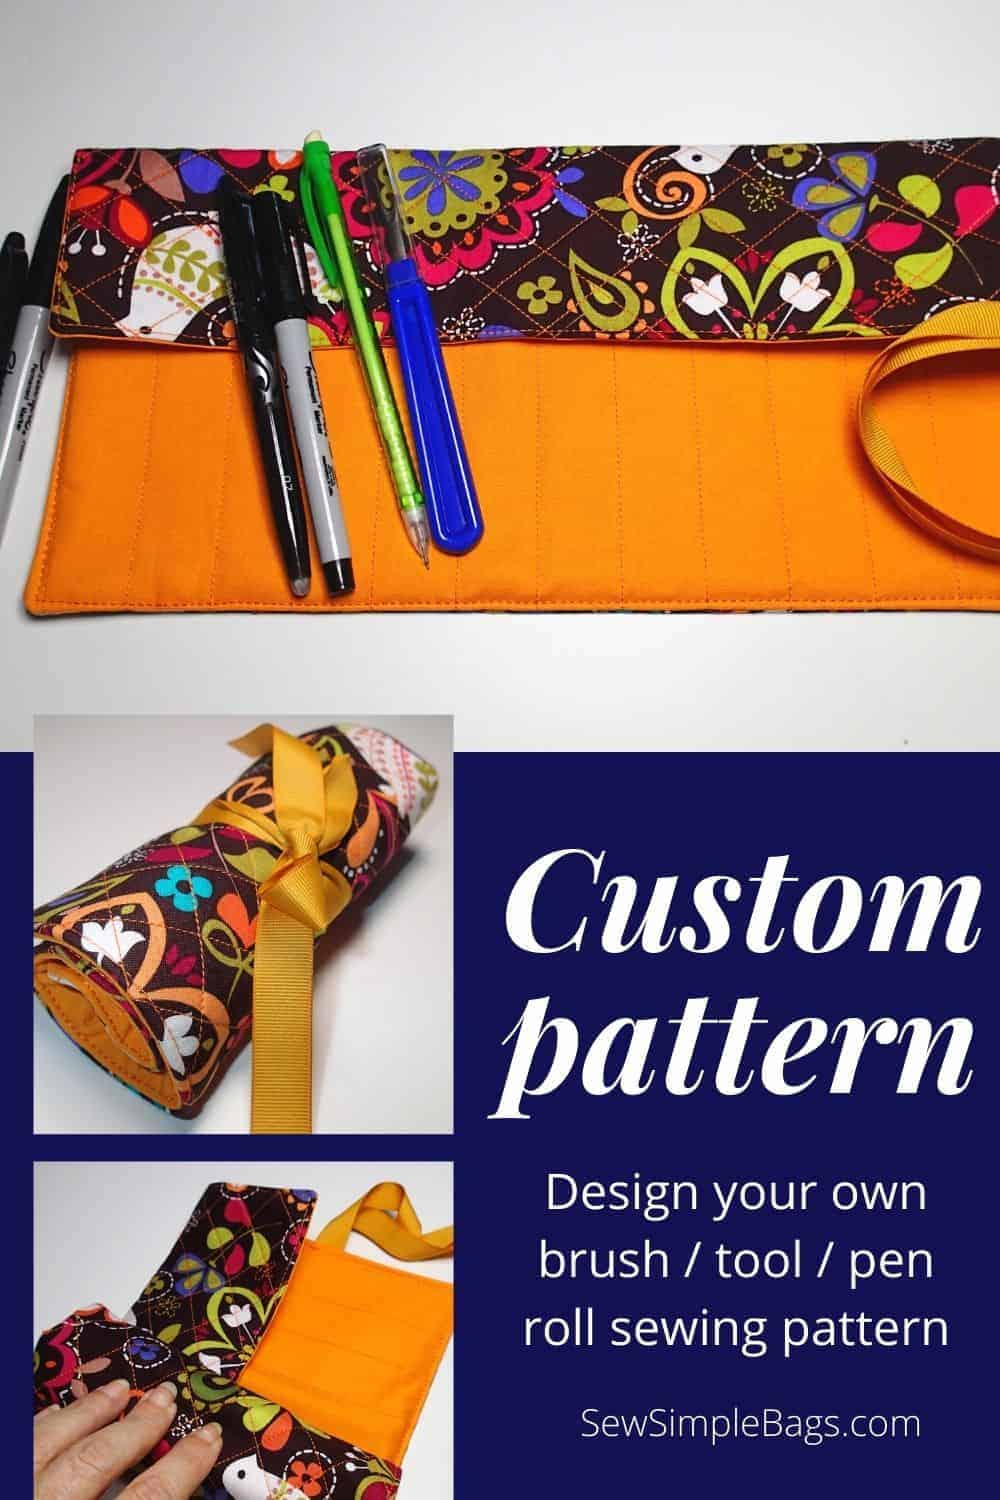
Easy quilted brush roll or tool wrap to sew in any size, with video
Do you have sewing tools, pencils, pens, brushes, knitting needles, crochet hooks, craft knives or similar that you need to store and organise? You’ve probably seen these sewing patterns for brush rolls for your cosmetics brushes, or crayon rolls for the kids’ art supplies. But maybe none of them is exactly the right size or exactly what you are looking for. That can be frustrating, trying to track down exactly the right pattern in the right size.
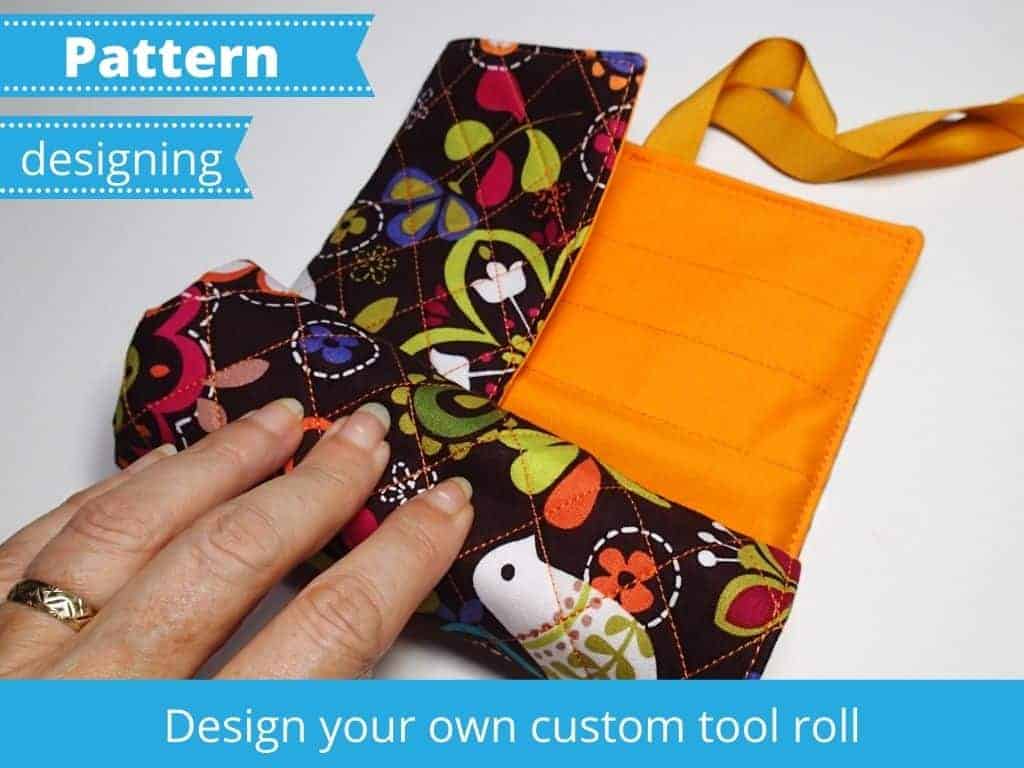
But pattern designing is not such a hard skill to learn. It’s simply a matter of turning something 2d, like a flat piece of fabric, into something 3d, like a bag. For simple patterns, it’s much easier than you might think and I’d like to help you create your own first custom sewing pattern design.
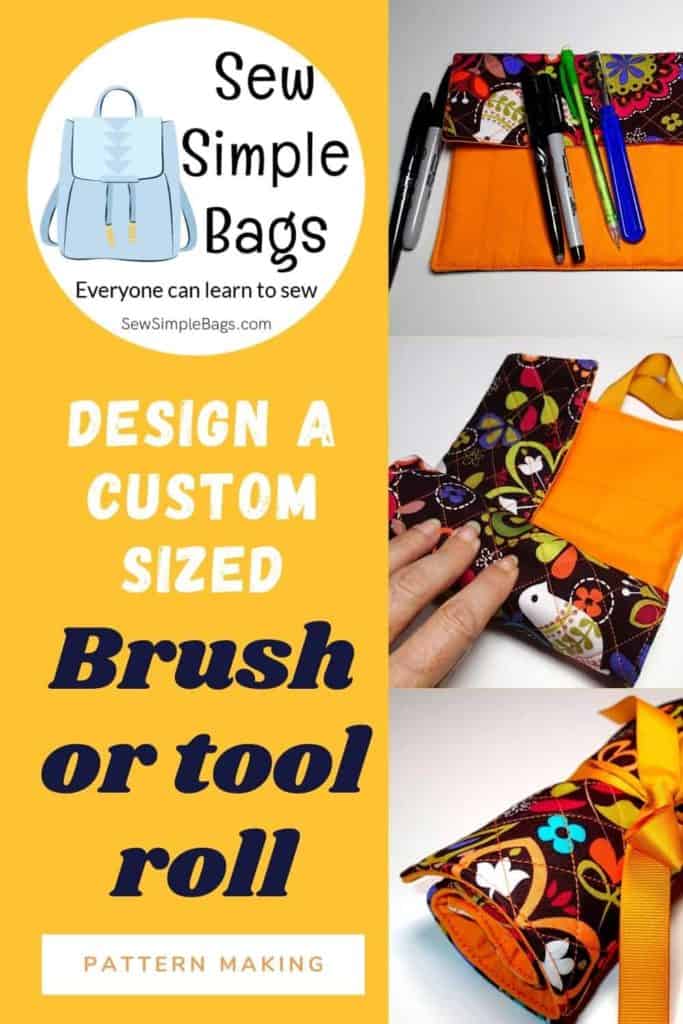
In this article and video I’d like to introduce you to designing your own simple bag sewing patterns. There is nothing more rewarding than dreaming up an idea, sketching and planning it out, sewing it and making that idea come to life. It opens up a whole world of possibilities for custom sewing of organisers, storage solutions, bags and purses and it’s a lot of fun too.
So for this pattern YOU design the pattern. I’ll help you with the general guidelines, the materials and the method of construction but I’m leaving the sizing down to you to decide so you can sew a completely custom organiser roll.
Materials & tools needed for your brush roll sewing pattern:
Quilting cotton (or similar) for outer fabric and lining
Fusible fleece (recommended) or a light batting
Ribbon for the ties
Fabric marker (I love Frixion pens)
Quilting ruler & rotary cutter
A roll of brown paper or similar to draw the pattern
Matching thread
How much fabric do I need?
You’ll notice above that I haven’t told you how much of each that you will need. That’s because you are the designer here and you’ll be sewing up this pattern in the size that works for what you need to store. So you’ll be creating your own pattern pieces, and working out your own fabric sizes. But don’t worry, I’ll show you how to do it.
Simple brush roll pattern design guidelines
Don’t worry if it all seems rather complicated when you look at the notes below. I’m going to explain it all to you in the video (below, keep scrolling) and there is lots of places where you can follow the guidelines, more or less follow the guidelines, or completely ignore the guidelines and go your own way. Your design = your choices 🙂
- Your height needs to be around 1.5 x the height of your largest tool, as a general guide
- Your width will be the width of all of your tools laid out side by side without overlapping, plus a bit extra for your top stitching at the edges
- Your pocket will be about a third of the height, but doubled (so 2/3rds) because the fabric is a double layer
- Your ties will each be approximately the width of your completed roll (so double this to work out how much ribbon you need.
- A busy fabric is nice on the outside, but to make it easier to spot your tools, a simpler fabric is better for the lining.
- Make it a bit bigger than you think you’ll need to allow for more tools in the future!
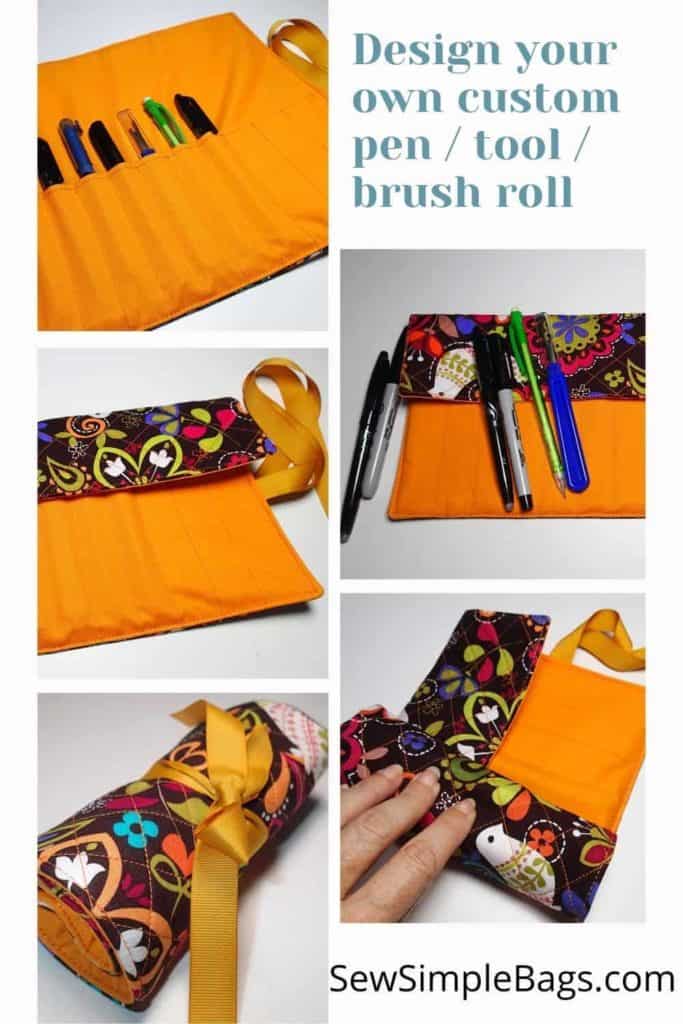
How to design and sew your own sewing pattern for the tool caddy or brush roll – video
Download this article as a PDF
This article has been converted to a print-friendly PDF file to make downloading, saving and printing it easy. Any videos in the article still work. It’s available for optional purchase for your convenience.
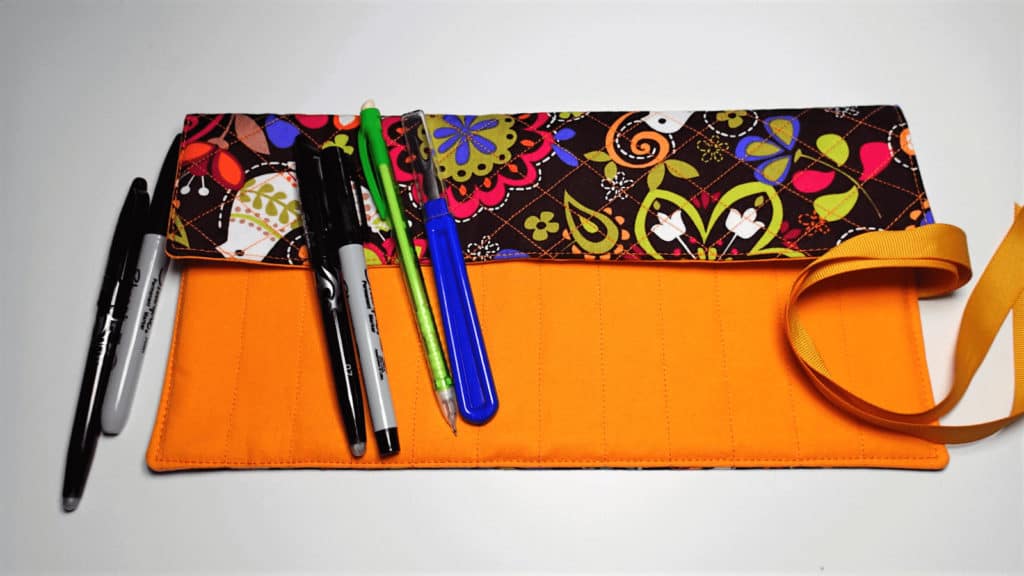
Easy construction steps for your custom-sized brush roll or tool wrap
- If you would like to use a piece of quilted fabric for the outside of your brush roll, follow the instructions here for How to Easily Sew Your Own Quilted Fabric To Use In Your Sewing Projects.
- If not quilting, fuse the fusible fleece to the wrong side of your outer fabric.
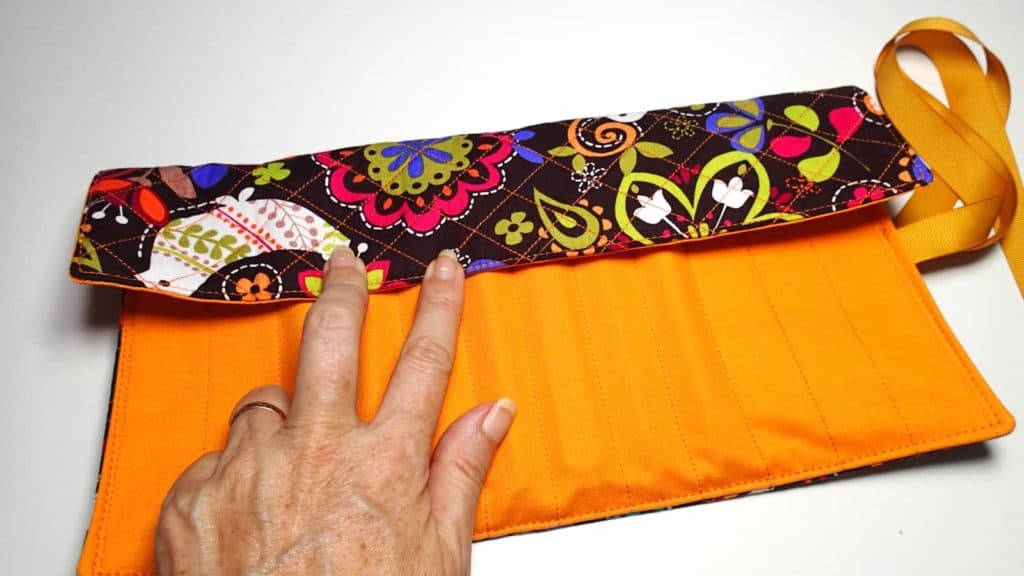
- Fold your pocket fabric in half wrong sides together and press. Stitch one or two lines of stitching across the top folded edge of the pocket.
- Baste the pocket in place at the lower edge of your lining fabric.
- Mark your center of the pocket and then measure out and mark for your individual slots according to the tools, pens, crochet hooks, brushes etc that you want to store.
- Sew your channels to make the individual pockets, always starting at the top and sewing to the bottom. Backstitch at the top of the pocket to make it strong there.
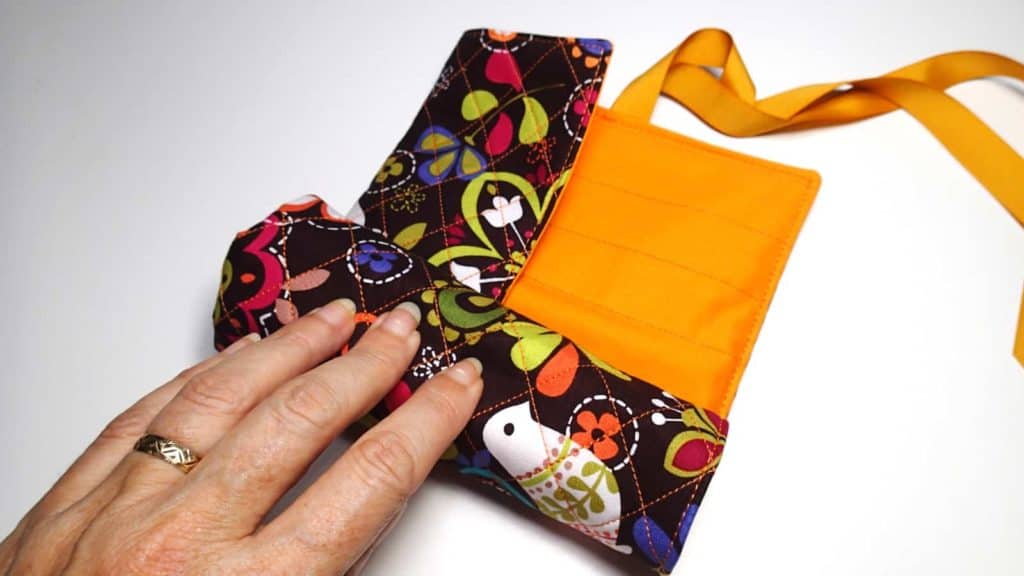
- Fold your ribbon half and baste the fold in the seam line where you marked on your pattern, and poke the ends into one of the pockets.
- Place the outer fabric and lining right sides together. Sew around the outside using the seam allowance from your pattern. Leave a gap for turning.
- Turn right sides out and press.
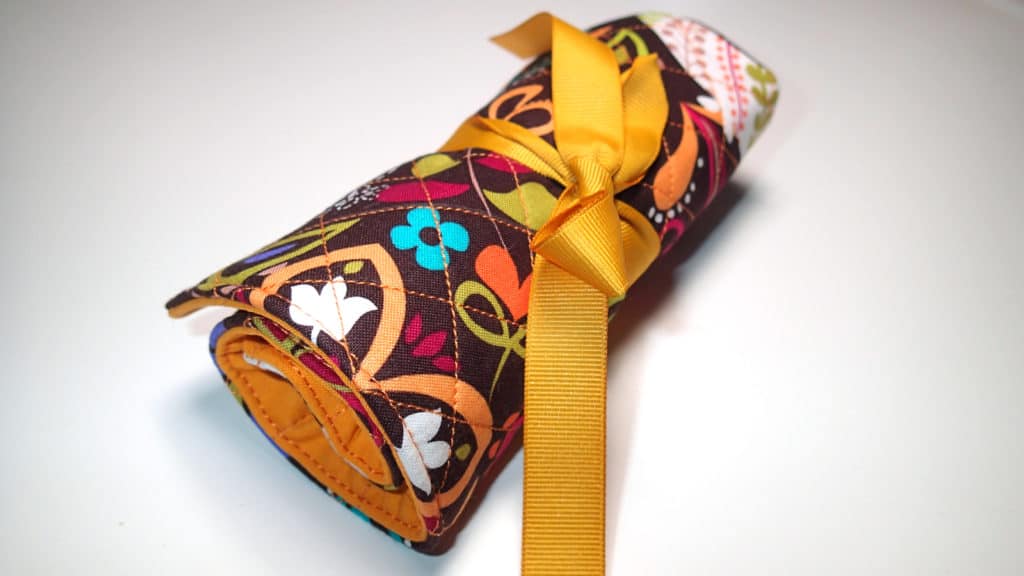
- Stitch around the outside, closing the gap as you go.
- Completed!