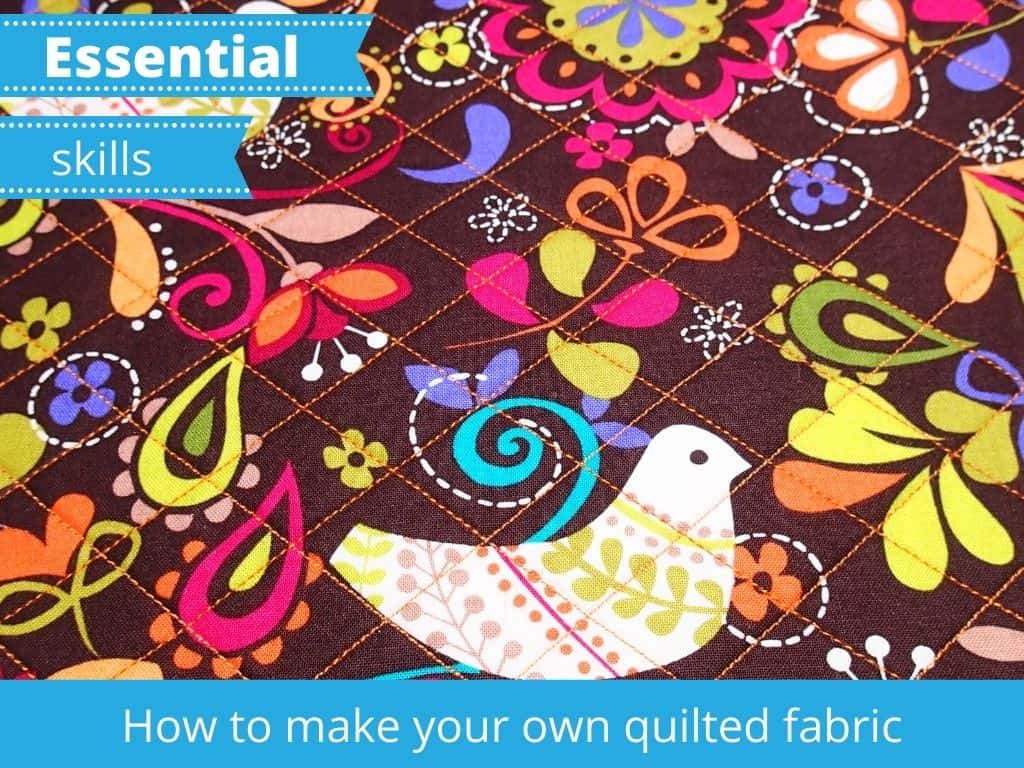
How to easily sew your own quilted fabric to use in your sewing projects
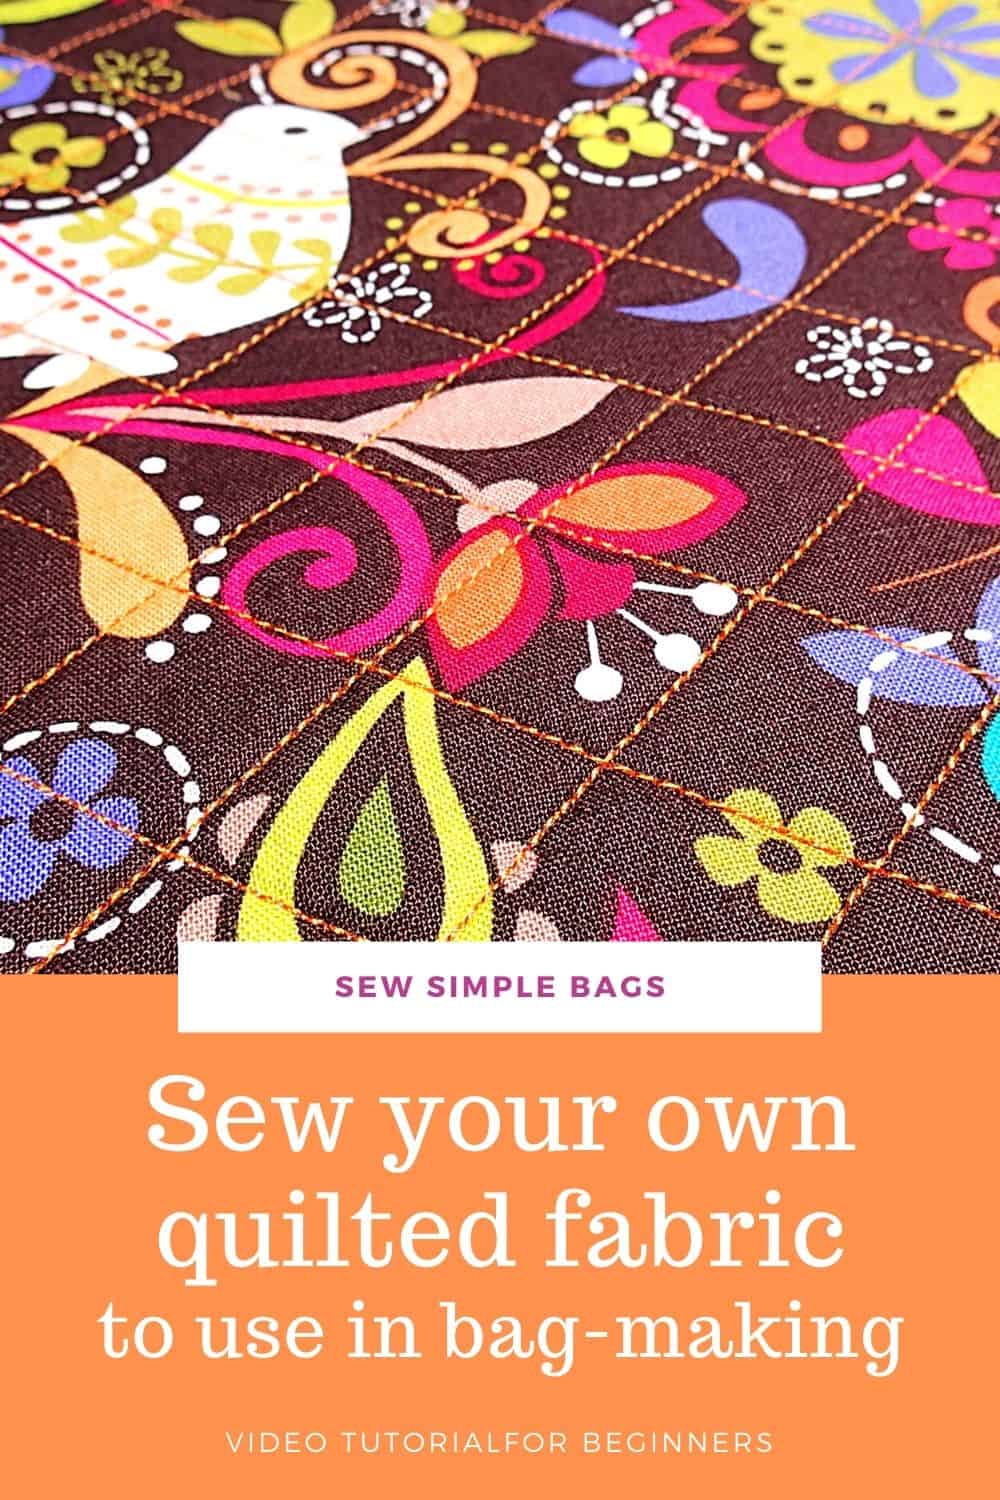
Quilted bags are so fashionable right now, including quilted clutch bags, backpacks and tote bags. They have been brought to our attention and right into fashion by a popular ‘designer’ range of quilted bags made with pretty prints. But why pay designer pricing when you can sew your own bags? All you need is the quilted fabric and almost any bag pattern can become a designer quilted version of itself.
Sewing your own custom quilted fabric is actually much easier than you might think. Very easy in fact. I’ll show you how in the video below.
But before we get started with the video, just a few notes and things to think about, and a few additional points not covered in the video.
What materials do you need for making your own quilted fabric?
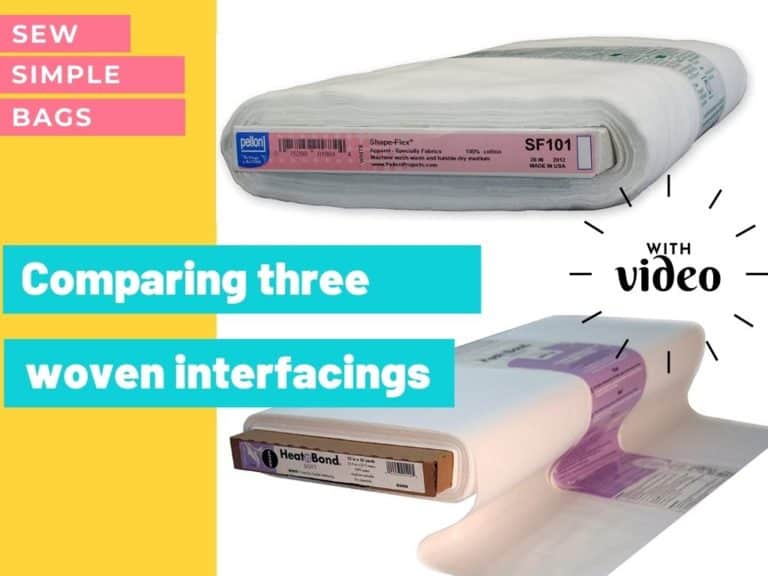
The easiest method is to use things a bag-maker would already have in their stash. For an easy to work with piece of quilted fabric I will pick a pretty quilting cotton and back the entire piece with a single layer of fusible fleece. I really like the Thermolam but the regular Pellon fusible fleece works the same too.
If you want a thicker and more pronounced quilted look then you can double up the fusible fleece and fuse a second layer on top of the first.
You could also substitute a fusible foam designed for bag-making instead of the fleece. Try one of the Pellon Flex Foam products, or Soft and Stable by Annie, or Bosal foam for example. This would give a lovely soft padded look to your quilting, however, it can be a little more difficult to sew with and your machine might not feed it through so easily as the fleece. Try a walking foot if you have trouble, or sandwich the foam between two layers of fabric.
If using foam, also keep in mind that your finished quilted fabric will be thicker, and if your bag is small, or has a lot of fabric layers, it could become a bit unwieldy with thick foam in the seams.
Should I cut my pattern pieces out and then quilt them?
I would always recommend that quilting should be done before cutting your fabric to size. Quilting tends to slightly shrink the fabric because it adds texture, so if you accurately cut out your fabric according to the pattern pieces, after quilting they could be too small.
You can accomodate this slight potential shrinkage in two ways:
- Cut out each pattern piece a bit larger than needed, say, 1 inch extra on each side. Then back the fabric with the fleece (or foam), carry out the quilting, then use the pattern piece to accurately cut your piece now it’s quilted.
- Look at how much fabric you need for ALL of your pieces. If you need a fat quarter, or a half yard of fabric, then add your fleece and quilt the entire piece of fabric before you cut out any pattern pieces. This can be much quicker, more efficient and less fiddly than cutting out and quilting each piece separately.
- A combination of the above, quilting the large pieces for your pattern separately, and then making a larger piece of quilted fabric to use for all of the small pieces. This would probably be your best approach if you are making a bag using several different prints of fabric.
What design or stitch should I use to quilt the fabric?
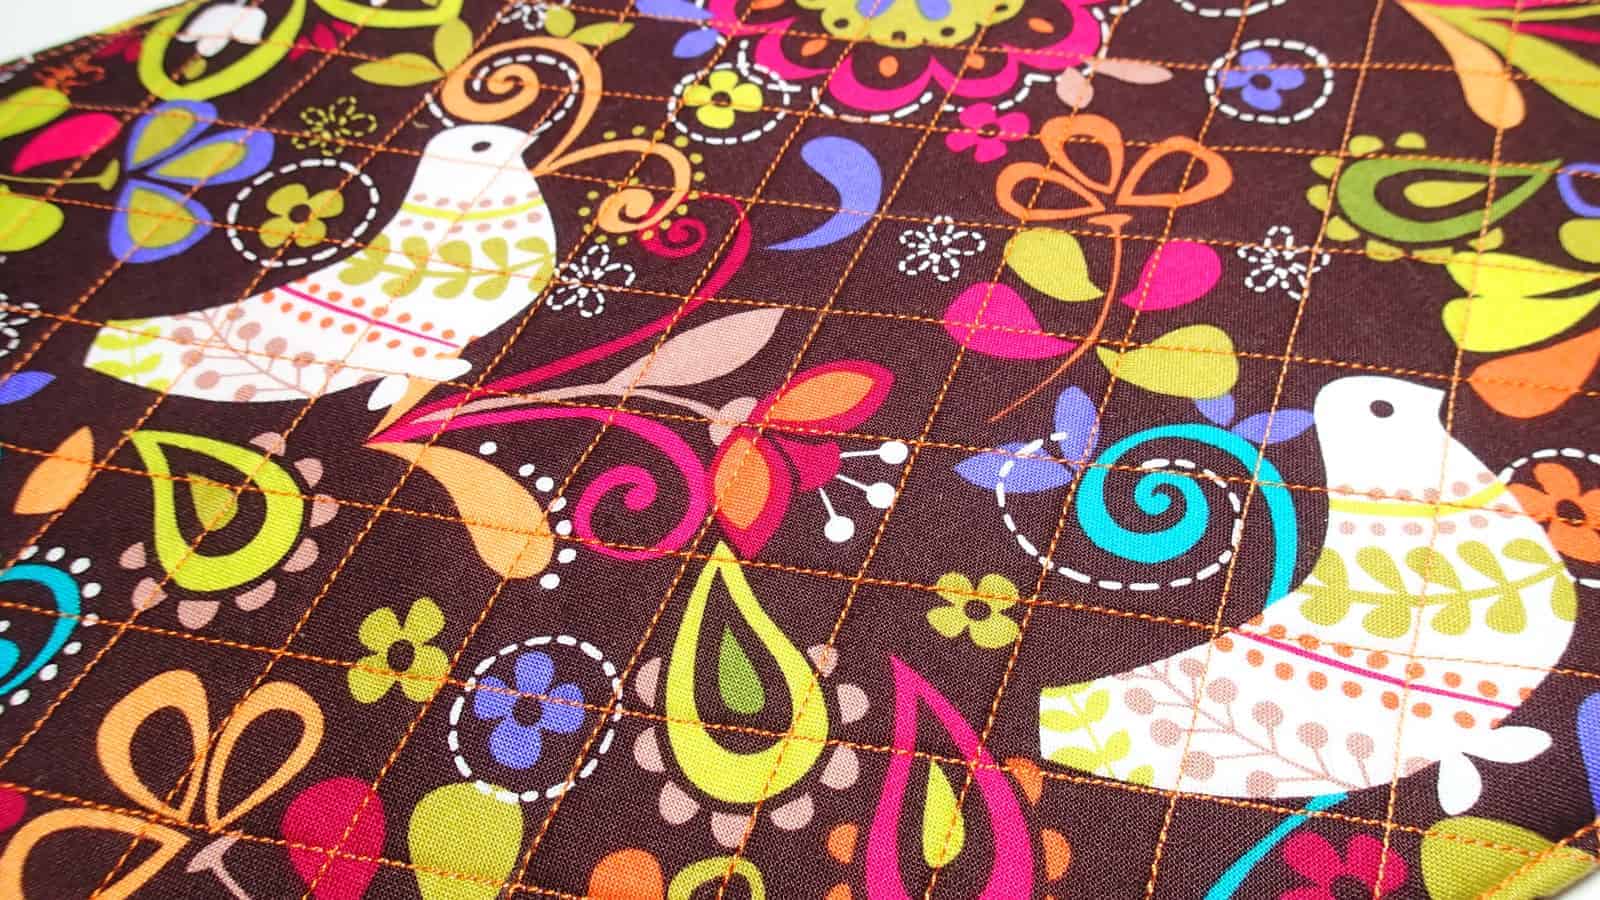
In the video, I am using a regular length straight sewing stitch and sewing my lines across the fabric on the diagonal to create a diamond pattern of quilting. If it’s your first time, this is an easy design to create and it’s easy to mark out on your fabric with a quilting ruler and fabric marker.
Grab yourself a good sized clear quilting ruler (from the selection here) and an erasable fabric marker (I love these Frixion pens the best, but there are other erasable fabric markers here).
But it’s not the only way. You don’t just have to be restricted to straight lines, the world of quilting offers thousands of designs for quilting your fabric, or you can simple ‘free motion quilt’ a random design of your choice. If you are interested in learning more about free motion quilting, then Craftsy has fantastic classes. Use our exclusive coupon code SEWSIMPLE80 for 80% off your subscription and watch all the classes.
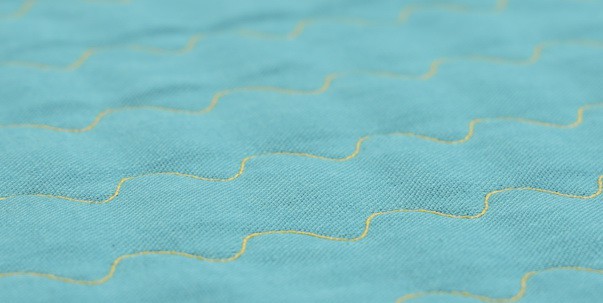
Want something that looks more organic and ‘softer’ than a grid of straight lines? Try your sewing machines decorative stitches. Mine has one called a serpentine stitch and if I crank that one up to the longest stitch length and the widest width, it sews a lazy winding road of curves across the fabric that you can guide to be as even or as random as you like.
Don’t want to drive yourself crazy with drawing rows and rows of parallel lines on your fabric? You can also just draw a line in each direction across the diagonals to get you started, and then use a quilting guide to sew parallel lines without having to draw them. That’s coming up next.
What’s that tool you are using to sew even lines?
The adjustable bar that fits into the sewing machine is called a quilting guide. It’s a fairly snug fit, which means once fitted, it doesn’t move, and allows you to sew perfectly even and perfectly straight lines of stitching that are parallel to each other. It makes sewing your own quilted fabric much quicker and easier than drawing on the lines to follow.
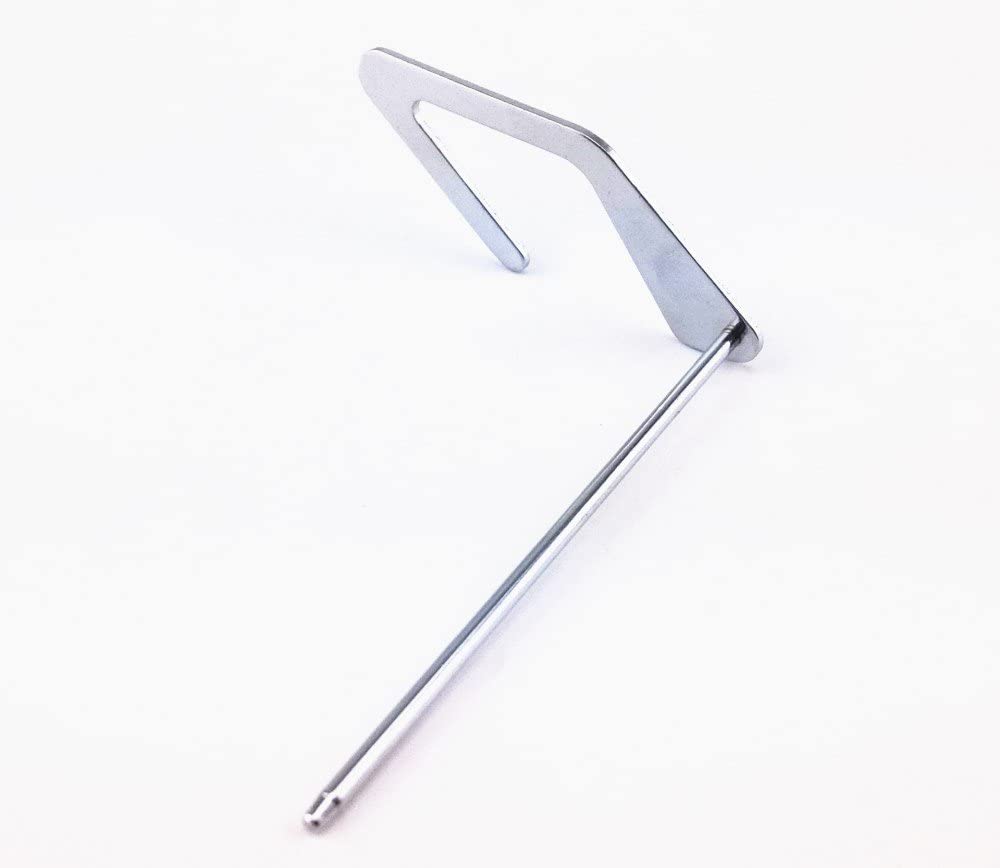
This guide seems to be universal in size and fit and works with most Brother, Singer and Janome machines. Take a look at the back of your presser foot attachment to see if you have the hole to attach the quilting guide. (Get the quilting guide here.)
My video – how to make your own quilted fabric to use in your bag sewing projects

If you make your own quilted fabric I would love to see it and hear your feedback and suggestions. Come and share with us in the Facebook chat group soon.
Hi. I love your space. Congratulations. Gained a follower.