How to sew the invisible ladder stitch, with video
The invisible ladder stitch is an essential hand sewing stitch to learn for bag makers. This is a simple stitch to learn and master once you’ve practised it a few times, and you can get into an easy rhythm with it. This hand sewing stitch is perfect for closing the gap left in the bottom of your lining or pocket without it even being visible when you’ve finished – hence it being called ‘invisible’.
Why is it called a ladder stitch?
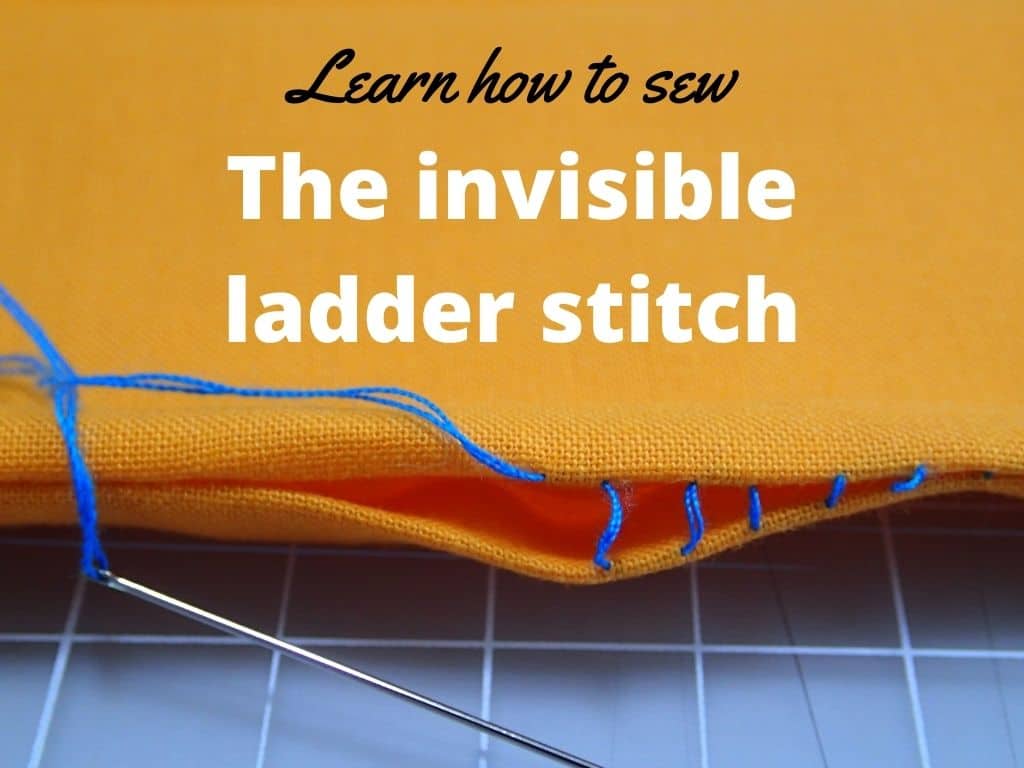
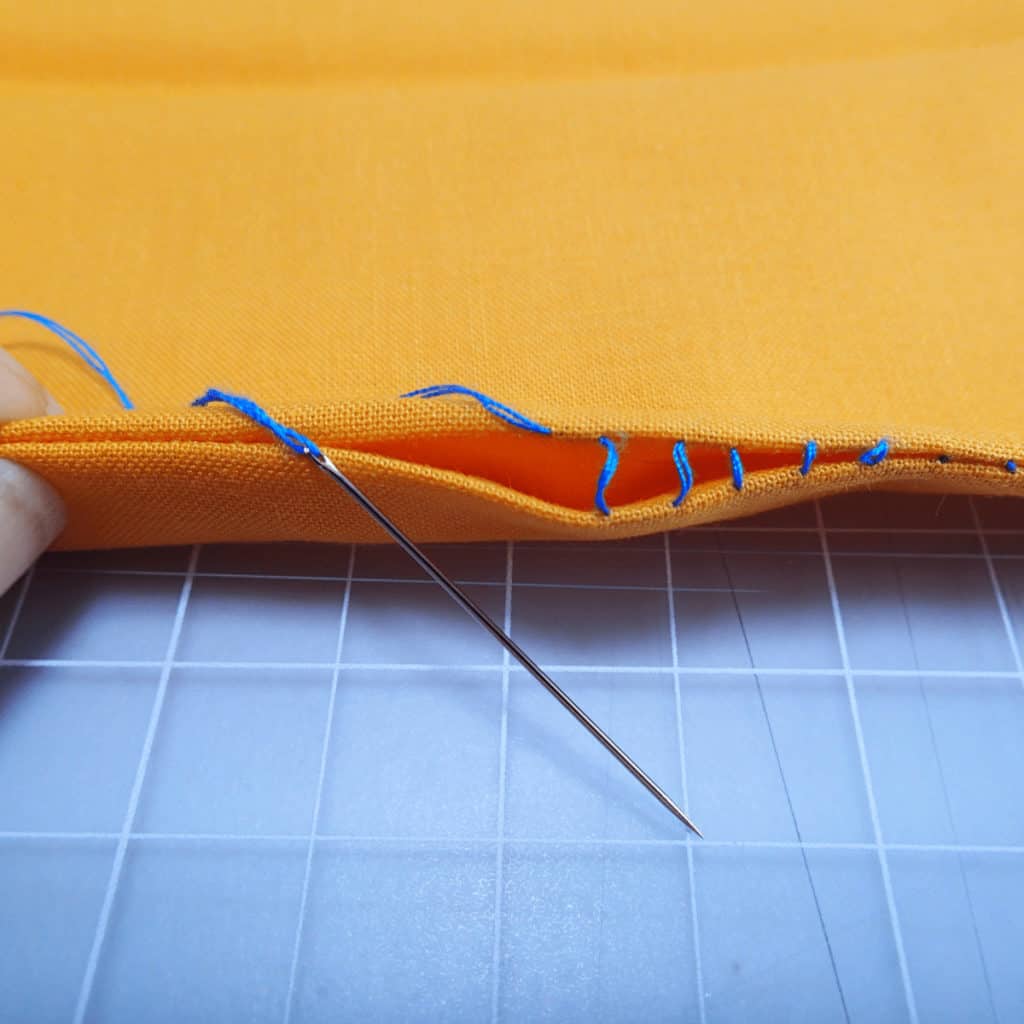
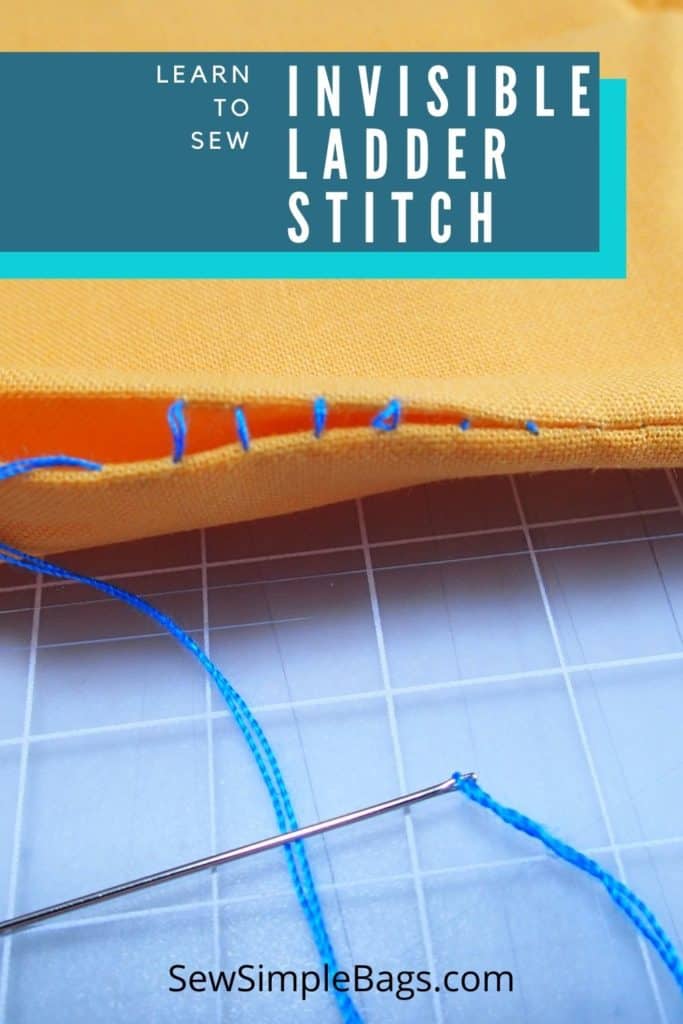
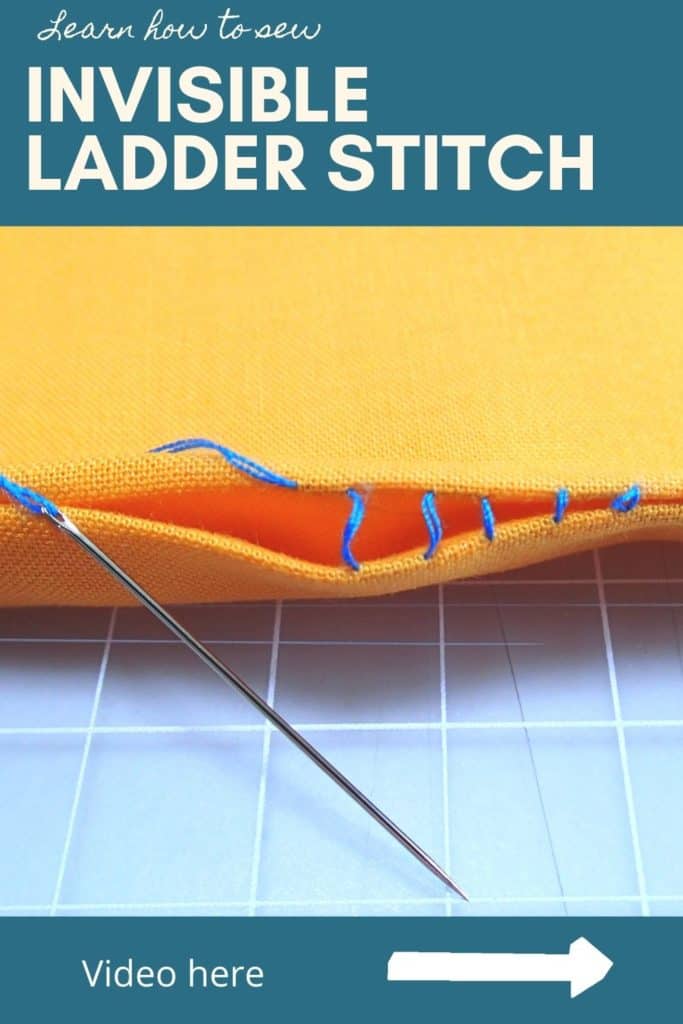
The invisible ladder stitch is usually sewn and pulled closed as you sew each stitch or every couple of stitches, but if you left your stitches looser and open you would see how the stitches form evenly spaced and straight ‘rungs’ between the two pieces of fabric you are closing. These stitches look like the rungs of a ladder.
Then cinch them closed, the two pieces of fabric butt up together, the threads or rungs disappear and suddenly it’s invisible. Like magic! We’ll see this happening in the video.
When would you use an invisible ladder stitch?
Handstitching an invisible ladder stitch is perfect for when you want to join two pieces of fabric with a near invisible stitch, but you aren’t able to sew them from the back with the right sides facing as you normally would. Typically for bag makers this applies when you have almost finished sewing a bag and the very last thing to do once the bag is turned right sides out is to close the gap in the lining at the bottom of the bag or the bottom edge of a pocket.
You could just stitch across the two pieces of fabric using your machine, sewing from the right side. If you do this, you’ll get a neat finish, but you’ll also get a very visible seam and a slight ridge in the fabric where the two edges meet but aren’t flush. It’s the only way if you want to finish it by machine.
But by taking a few minutes to neatly stitch the gap closed by hand, the fabric will sit flush and level and the stitches will be near invisible.
This stitch is also commonly used by those who sew cuddly toys, softies or plushies. Once they’ve been stuffed they have to be sewn closed from the right side, so the invisible ladder stitch is a good choice in this situation too.
How to sew the invisible ladder stitch
Top Tip – always choose a thread that is similar in color to your fabric for best results. I am using a contrasting thread in the video to make it easier to see the stitches, but it’s unlikely I’ll be able to completely hide this when the sewing is finished.
Top Tip 2 – pressing is your friend here. If you have a long opening to sew, it can help you to stay on track if you press the seam allowances before sewing. This keeps a nice straight line for you to follow with your needle.
In the quick video below, you can see me creating a fake bag lining and then sewing the gap in the lining closed from the right side of the fabric by hand using the invisible ladder stitch.

I hope that was useful. I use this all of the time when sewing my bag linings. Sure, you can sew it across by machine because no one is going to see the ridge in the bottom of your bag, but if you really want to get the very best results when you sew, it is worth investing a little time in sewing these final touches by hand.
Can you help me to share this article?


Thank you for the information!