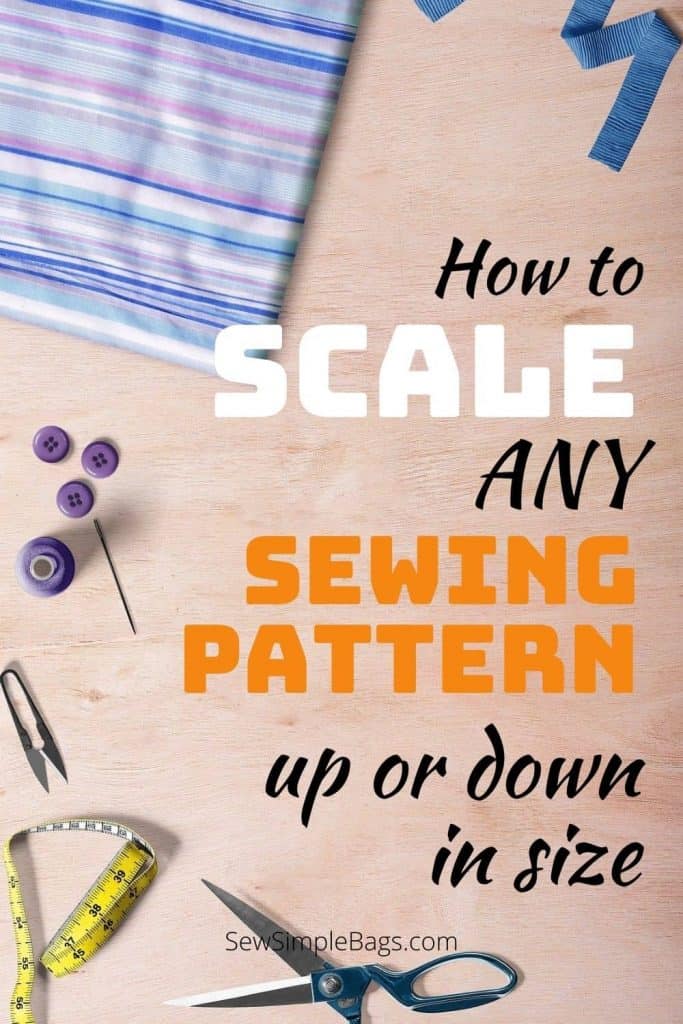
How to scale sewing patterns larger or smaller
Have you ever seen a sewing pattern you love and then check out the sizing and realise it’s just not quite right for you? Seen a tote bag that’s not big enough or a clutch bag that’s larger than you would like? But resizing the pattern is just too difficult, too much hard work or you just don’t know where to start?
Well, you might be surprised to know that actually, it’s really easy to resize a printable sewing pattern up or down in size to any degree you like. Just a couple of clicks and you can have your own custom-sized pattern. In this tips and tricks video, I’ll show you exactly how to scale any sewing pattern up or down in size easily.
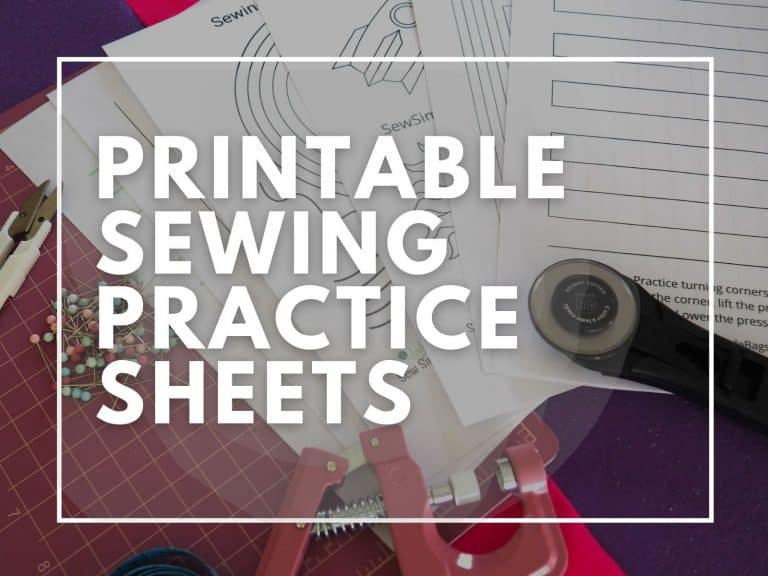
How to change the size on a printable sewing pattern
If the sewing pattern you want to change the size for has printable pieces, then it’s going to be really easy to change the size and have the revised pattern print out at the correct scale. But before you start, you do need to give it some thought and visualise the bag and the changes that you want to make.
Strap or handles – if the bag has a shoulder strap or carrying handles, do you want to scale those too? If you make your bag 50% larger, does the shoulder strap need to be 50% longer and 50% wider as well? Probably not. Up-scaling by 50% would turn a 1 inch strap into a 1.5 inch wide strap so you’ll need to think about changing the size of the hardware.
You probably wouldn’t need to make any handles longer, unless the handle formed part of the bag itself, or wrapped around the bag.
Seam allowance – if you up or down-scale your pattern pieces then the whole piece gets changed in the same proportion. So if you have a pattern with a 1cm (10mm) seam allowance and then you increase the size of that pattern piece by 25%, you’ve also increased the area of the pattern that was the seam allowance. You’ll now need to sew with a 1.25cm (12.5mm) seam allowance, being 1cm plus 25%. The same applies if you downscale. Reducing a pattern by 20% turns a 1cm seam allowance into 0.8cm/8mm. It’s fairly easy to work out in centermetres and millimetres but a little more difficult in inches.
Measured areas – if any of the instructions in the pattern refer to measurements, such as instructing you to place your magnetic snap 1 inch down from the top of the bag, you’ll need to consider whether this same measurement applies to the new pattern, or whether you’ll change that measurement to reflect the change in size that you made to the pattern.
There’s no hard and fast rule on that. It depends on the type of bag you are sewing and how much you change it by. Just remember to change (or not change) all of the affected pattern pieces so any snap closures etc will still meet correctly.
Zippers – if a bag calls for a zipper of a particular length, remember you’ll probably need to increase the length of your zipper to match the new pieces of fabric. If using a metal zipper, you may need to consider this more carefully so that you buy the correct size of zipper that won’t end up in your seam allowance.
Check out the video for how to change the size on a printable sewing pattern
Download this article as a PDF
This article has been converted to a print-friendly PDF file to make downloading, saving and printing it easy. Any videos in the article still work. It’s available for optional purchase for your convenience.
In summary
If all of your pattern pieces are printed, it’s a very quick process to change the scale while printing and create pattern pieces that are larger or smaller than the originals. You can still be sure that all of the pieces will still fit together correctly.
Downsizing a pattern is usually very easy to do and the smaller pieces will still fit on the original printed sheets. You will have to trim them to fit together properly if creating a multi-page pattern sheet.
Upsizing will split your original pattern pieces over multiple pieces of paper and it can lead to a LOT of wasted paper as a single page will suddenly become 4 pages and there will be a lot of blank space. If the pattern has a cutting chart for rectangular pieces, it may be better to recalculate sizes for those, and only print the larger pattern pieces for any shaped pieces that aren’t so easy to upsize.


Great video – thank you!