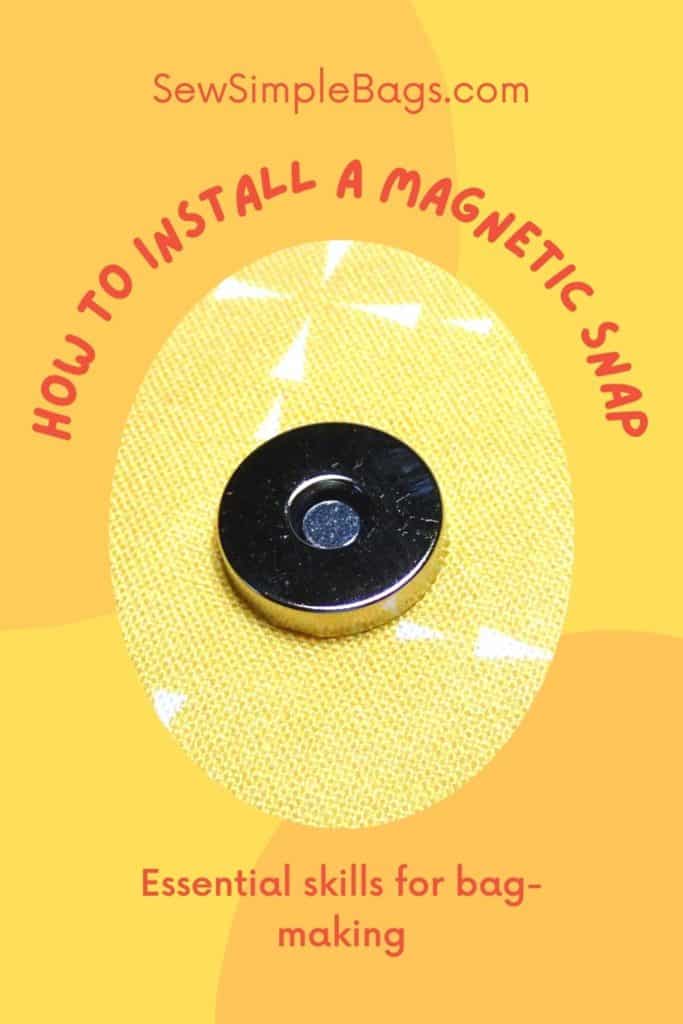
How to install a magnetic snap for a purse sewing pattern

A magnetic snap is one of the most commonly used pieces of purse hardware and is usually used as a closure at the top of a bag, purse or tote, or to secure a fold-over flap to the front of the bag. The magnetic snap or sometimes called magnetic button closure is my favorite type of bag hardware because they are affordable, easy to find, and easy to install.

One of my soon-to-be-released purse patterns has a magnetic snap on the front to secure the flap on the front of the bag. I thought it would be a good idea to write a comprehensive article on how to install a magnetic snap here on the blog so that I could refer to it in future. Then the pattern instructions can remain brief about installing the magnetic snap, but I can provide a link to this article where a new sewer installing the magnetic snap for the first time can get more tips and instructions.
Where can I buy magnetic snaps?
My recommendation depends on how many you need. For small numbers of snaps (up to 20) or for buying snaps in a particular size, or style, then I would recommend searching for a supplier on Etsy. You can get snaps in a range of sizes including ultra-thin which are nice, plus some really cute decorative magnetic snaps too.
Need a lot of snaps? I have found for bulk purchases that you can get a large bag of 100 pairs of magnetic snaps for a really good price on Amazon. You could get 100 for not a lot more than you might pay for 20 so if you are a prolific bag-maker, these bulk packs can offer a great saving.
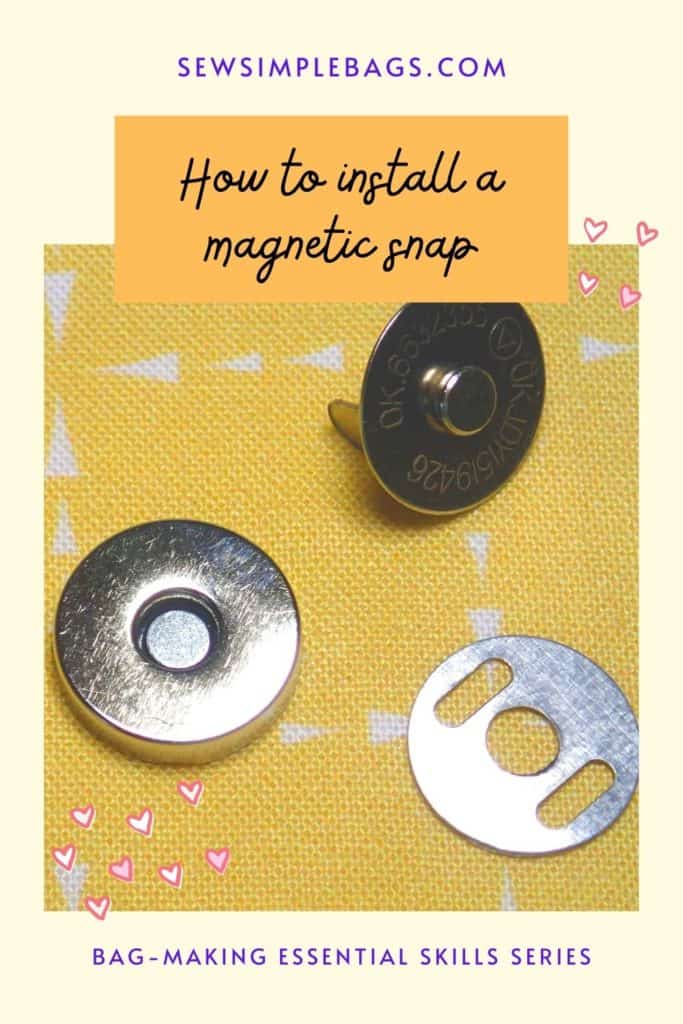
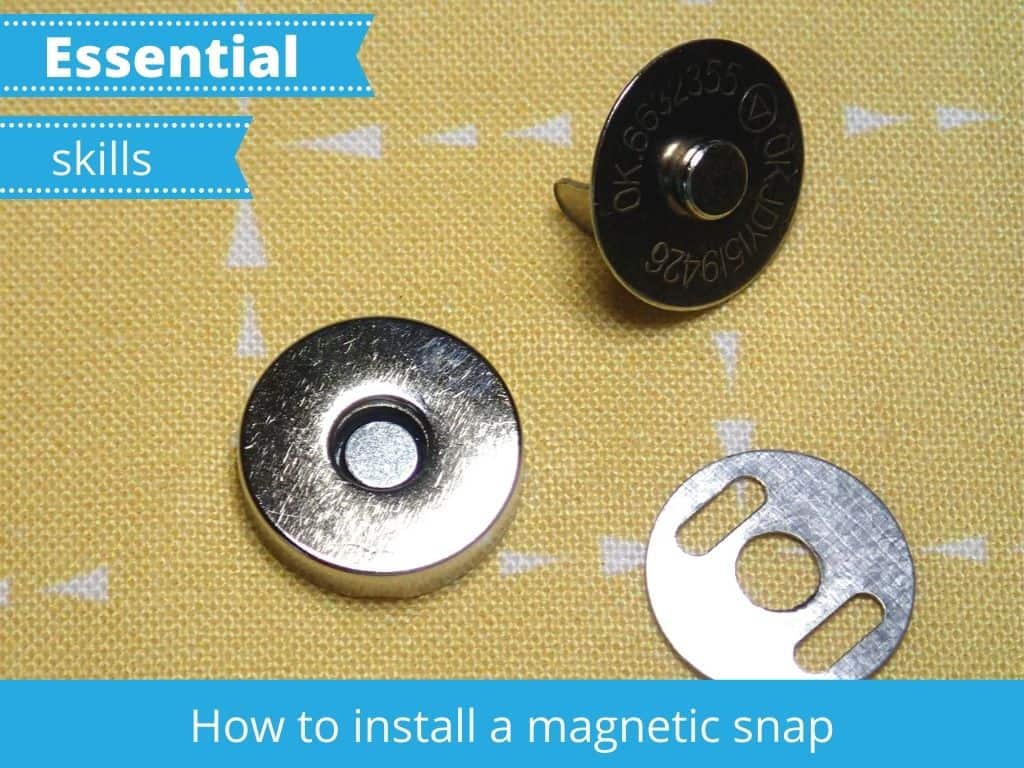
What are the parts of a magnetic snap?
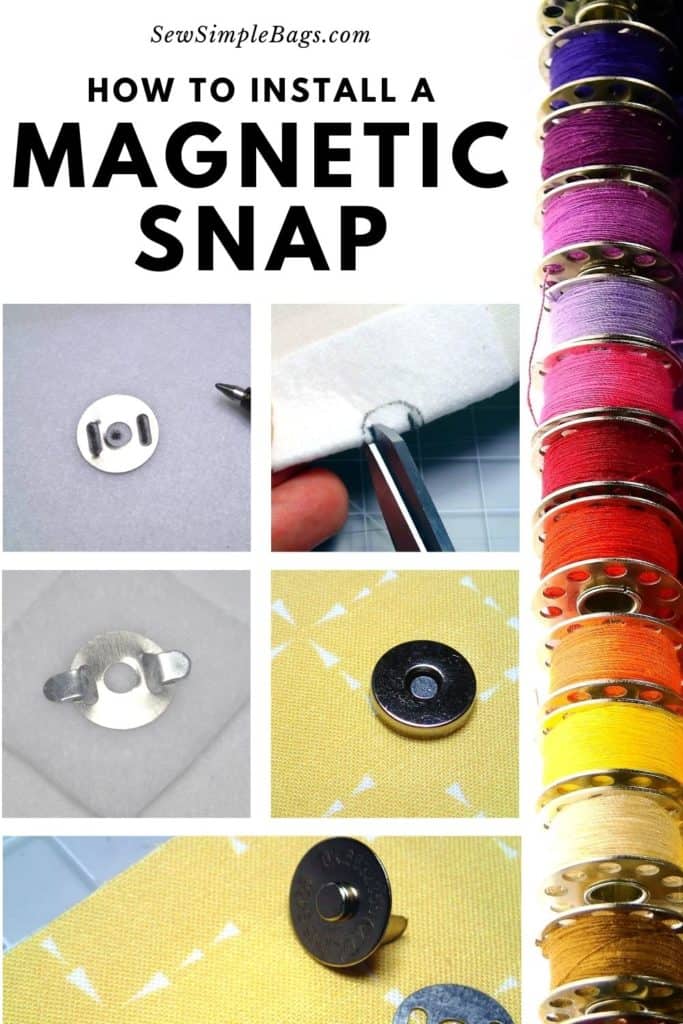
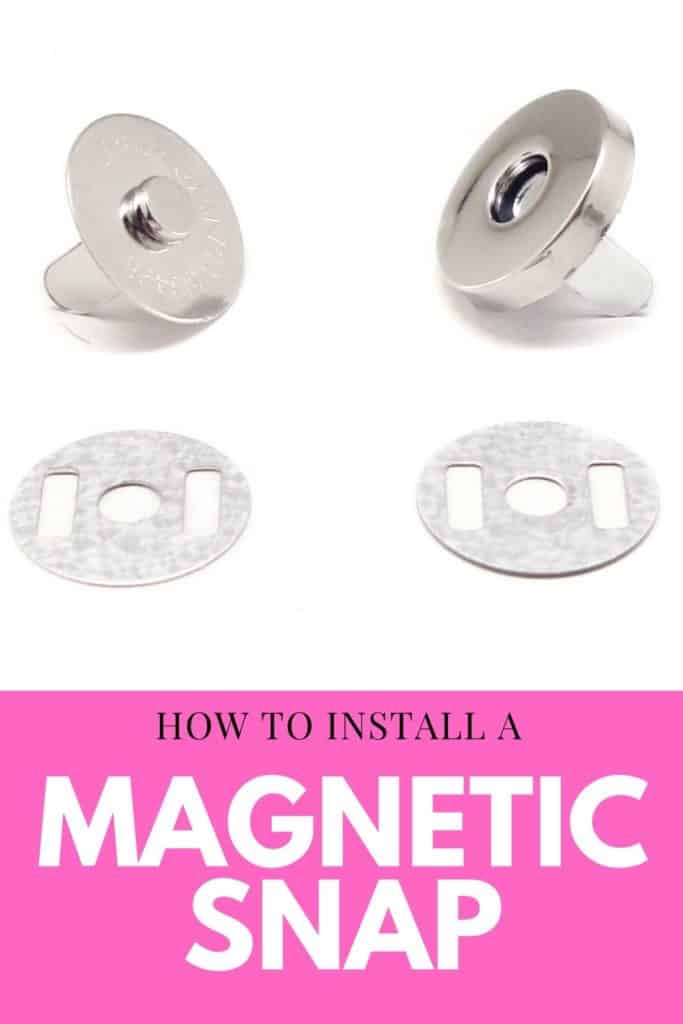
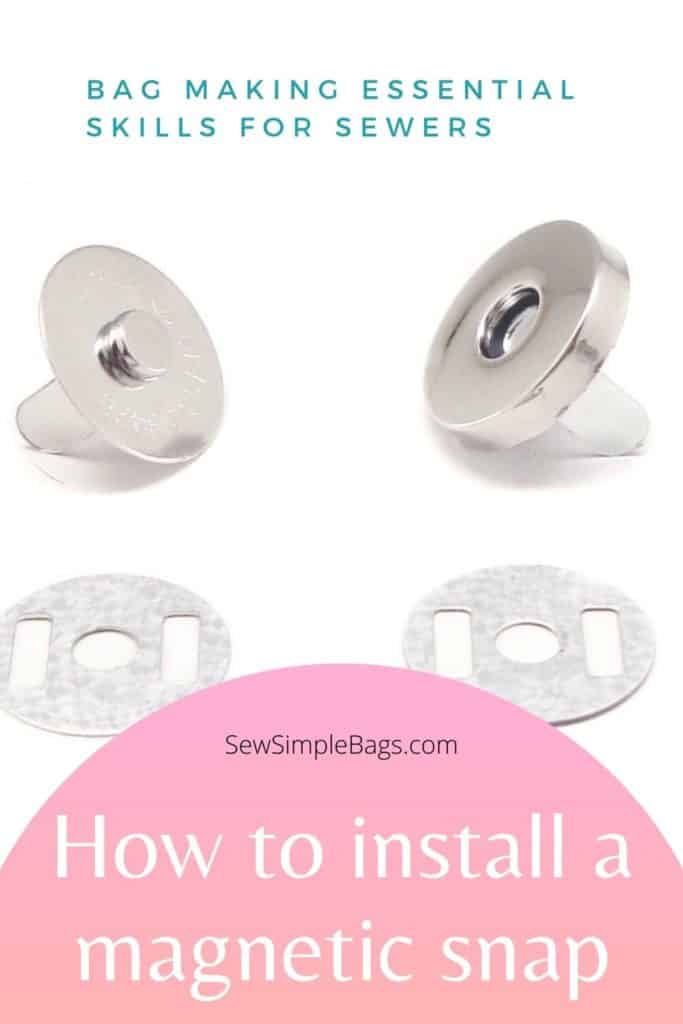
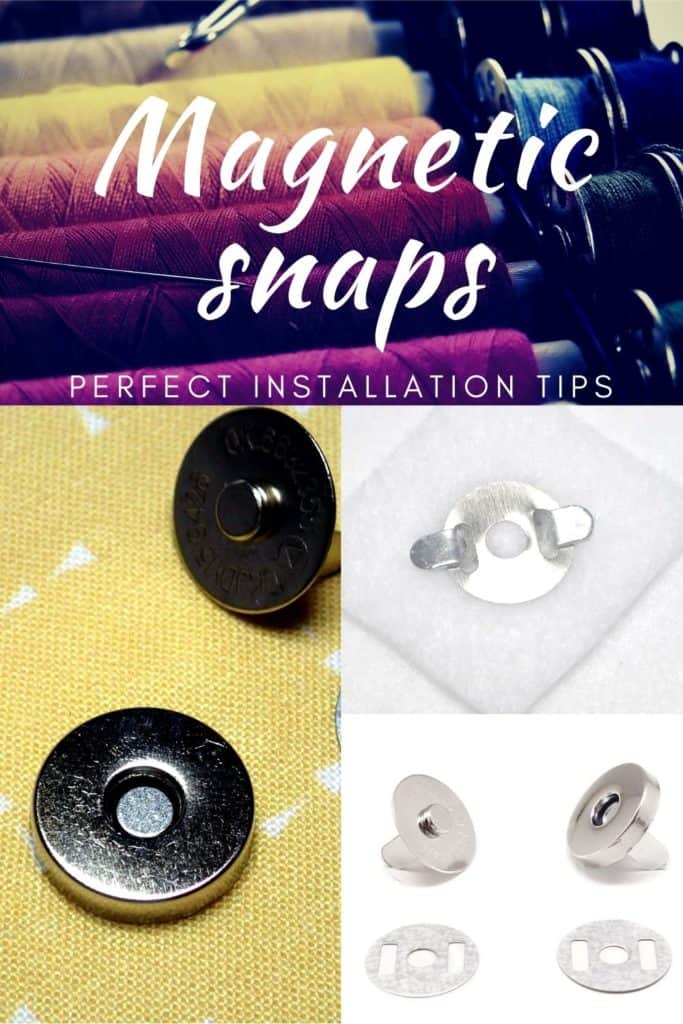
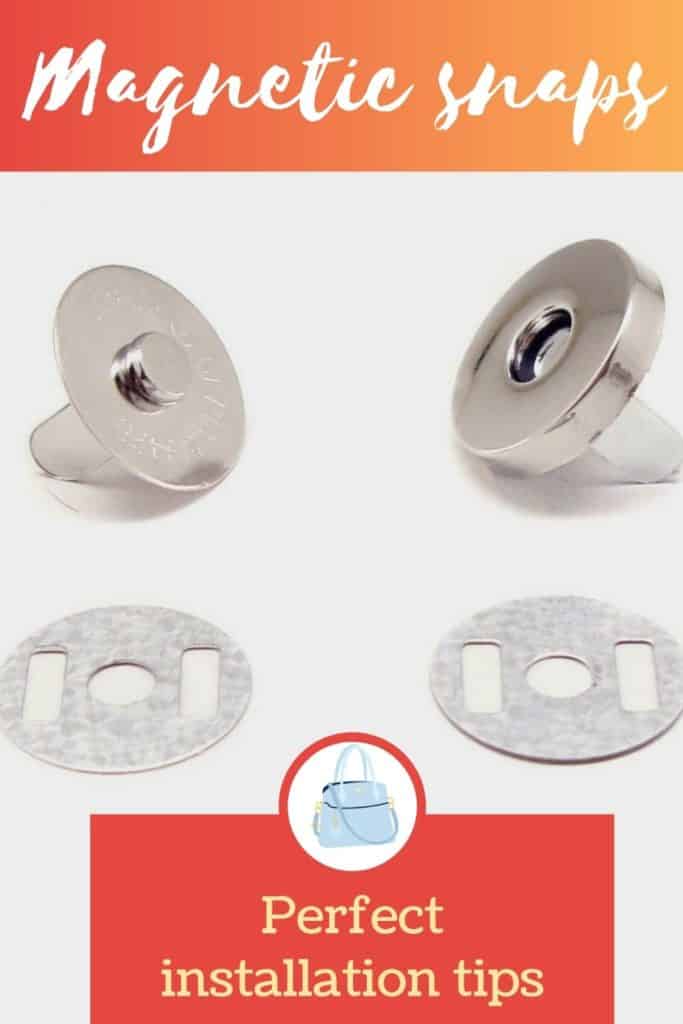
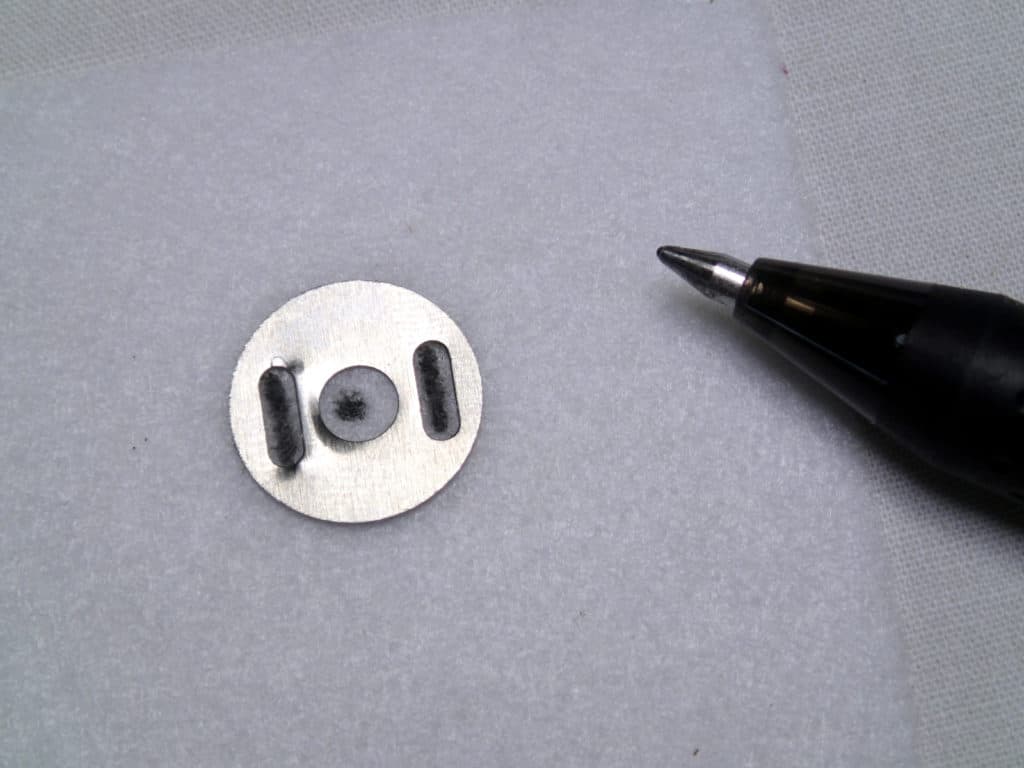
Your snap comes in 4 parts. There are two washers with slits that go on the back of the fabric and are hidden. These secure the snap in place.

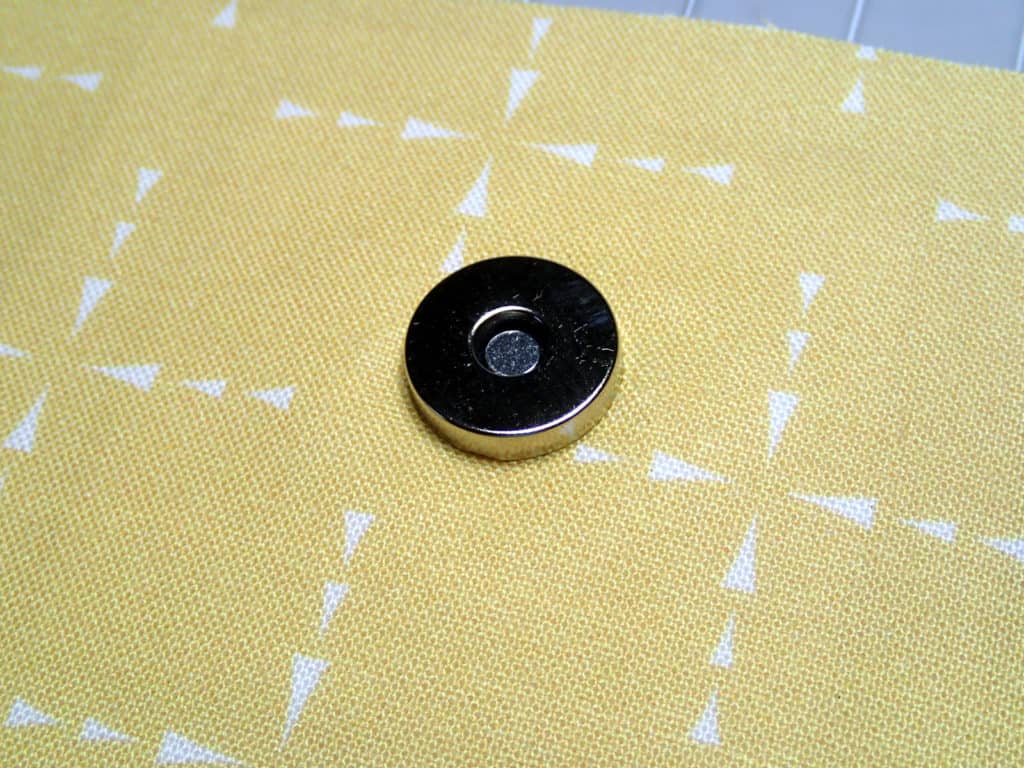
The two front parts of the snap are referred to as the male and female part. The female part of the snap has the sunken part in the centre and the male part has the raised part in the centre. These two parts fit easily together and snap into place by the power of the magnetism so the clasp holds in place easily and opens easily without much force.
Because of the easy use, they are ideal for those with manual dexterity problems where using a button or other type of clasp might be challenging.
How to install a magnetic snap for sewing a bag or purse
Start by marking the correct placement of your snap. Your pattern piece will usually indicate where the snap should go. It’s really important to put both parts of the snap in the correct place so that they will line up, otherwise the snap won’t close, or when closed will look ‘off’ if it’s not properly placed or centered.
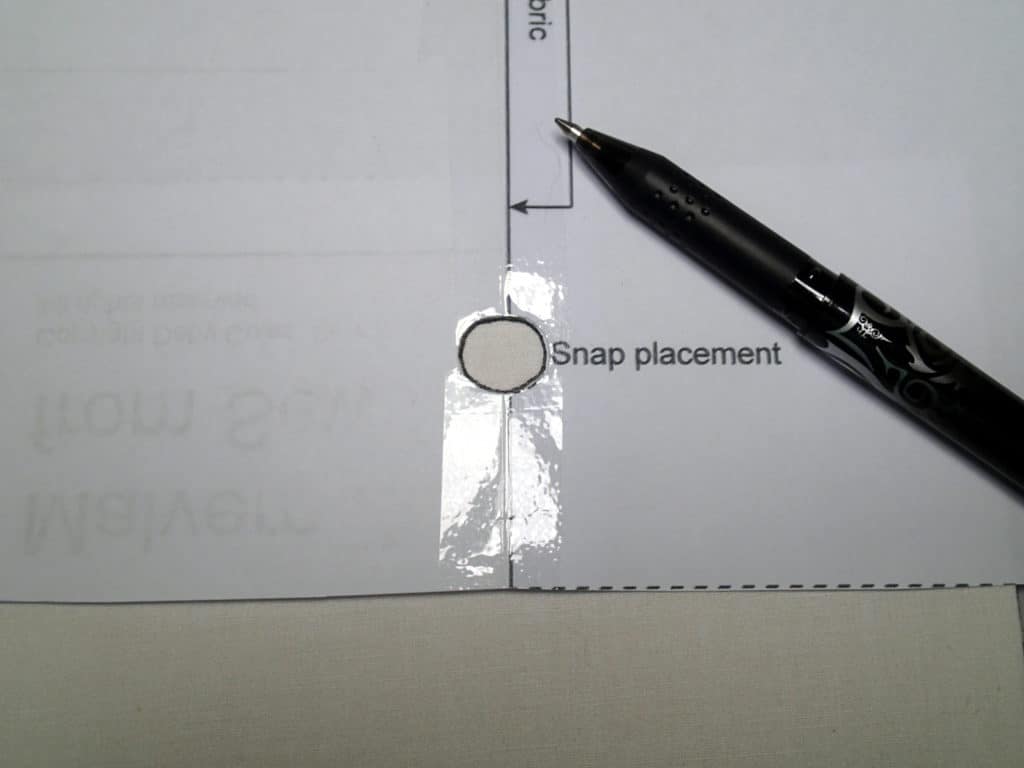
I like to cut out the snap placement from the pattern piece, lay it over the back of the fabric and mark where the snap should be installed. The snap has two parts so you’ll need to mark both parts on your fabric.
The pattern might tell you which is the male and female placement. It’s really not that important, it will always still work no matter what way you install it, but as a general guide, the female part would be on the fixed part of the bag, on the front for example, and the male part would be on the moving part of the bag, the flap, as this seems to be the easiest way to place them together when closing your bag.
TIP – reinforce! If your snap is in a part of the bag that already has something like fusible fleece or foam on the back of the fabric, that’s good. If not, if it is just a thin fabric and a light interfacing, you will probably want to add something extra to make that area a bit more sturdy and to prevent the prongs of the hardware from showing through.
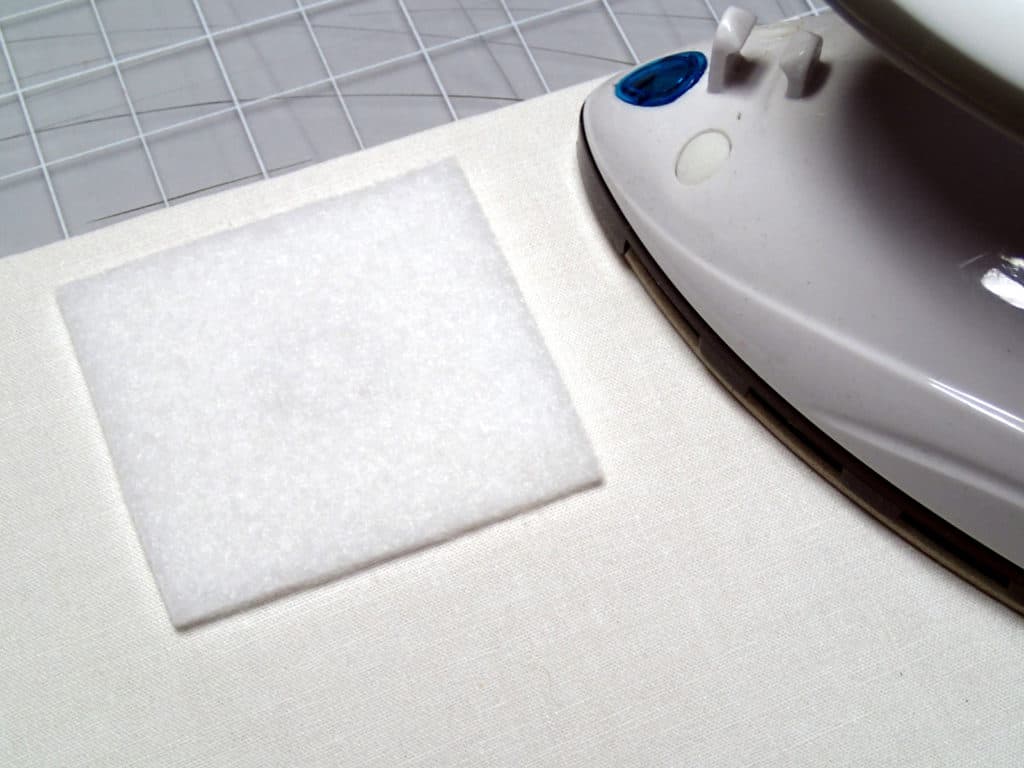
Here I’ve cut a piece of fusible fleece and added that to the back of the fabric right over where the snap will be installed. Then I’ll redraw my snap placement again on top.
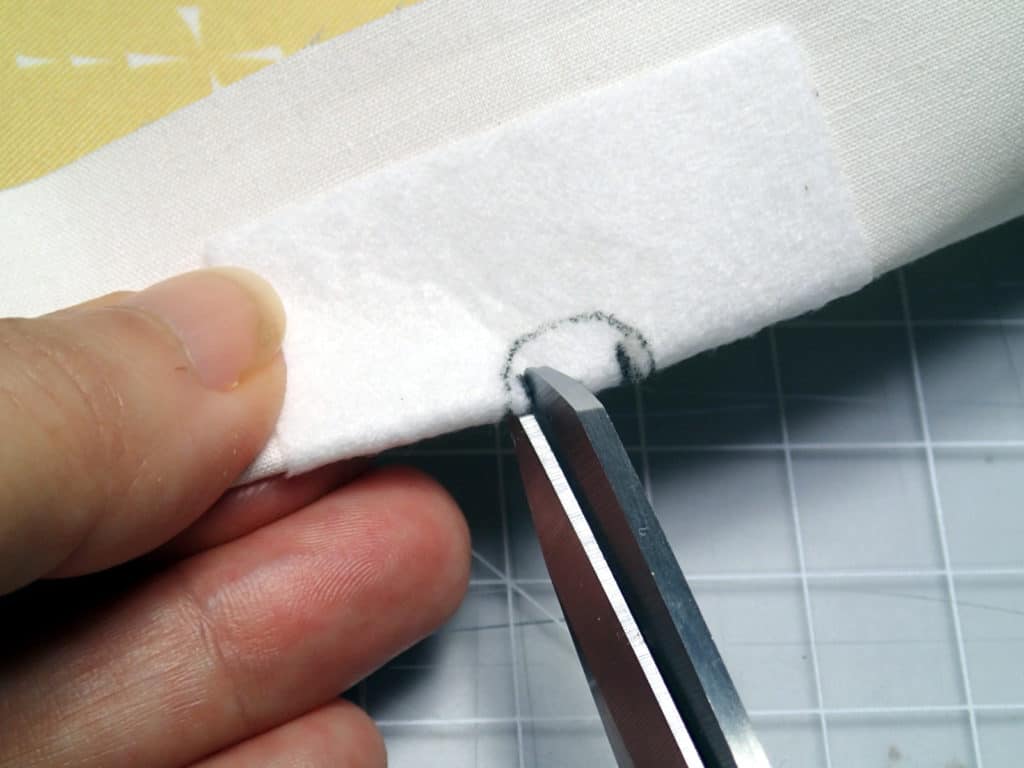
When you have your placement marked, place your washer centered over the mark and use a fabric marker (I love these Frixion pens for sewing) to mark where the two slits are needed for the prongs.
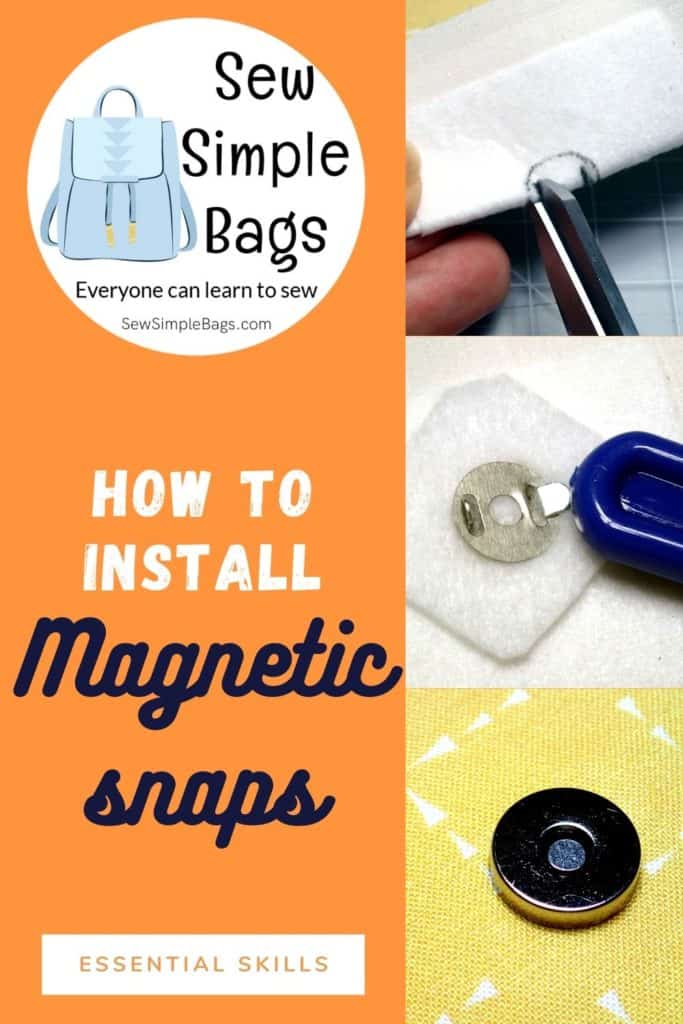
Now comes the tricky part. You need to cut tiny slits in the fabric just large enough and in the right place for those prongs to fit through, but not so large that it’s going to be loose, or that the slits will show beyond the size of the snap.
I suggest folding the fabric and use the very point of some sharp scissors to make a tiny snip. Remember – you can always make it larger if the snip isn’t quite enough, but you can’t take it back if you cut too far. So make a tiny snip and test to see if the prongs will fit.
If you are VERY careful, you can make the little slits with a sharp seam ripper, but take care not to slice too far. TIP – put a pin across the top end of your marks and use the seam ripper towards the pin so you won’t cut too far.
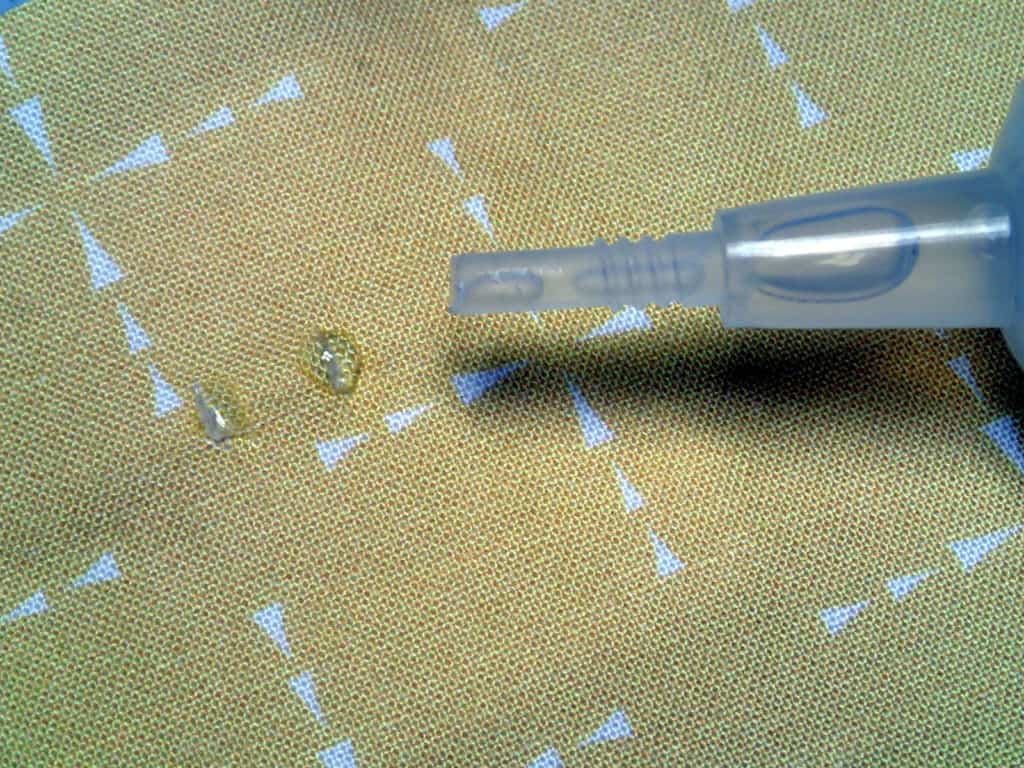
If you are happy with the fit and placement, then I suggest adding just a little dab of Fray Check or similar to the snips to neaten the edges and prevent them from fraying. It only needs a tiny drop; that little bottle is going to last you forever.
Now push the prongs through the slits from front to back so that the operating side of the snap is on the right side of the fabric. I like to add another little piece of fleece on top now for extra reinforcement but also to protect the fabric from wear and tear when the prongs are pushed over – this step is optional if you already have fleece or foam in place.
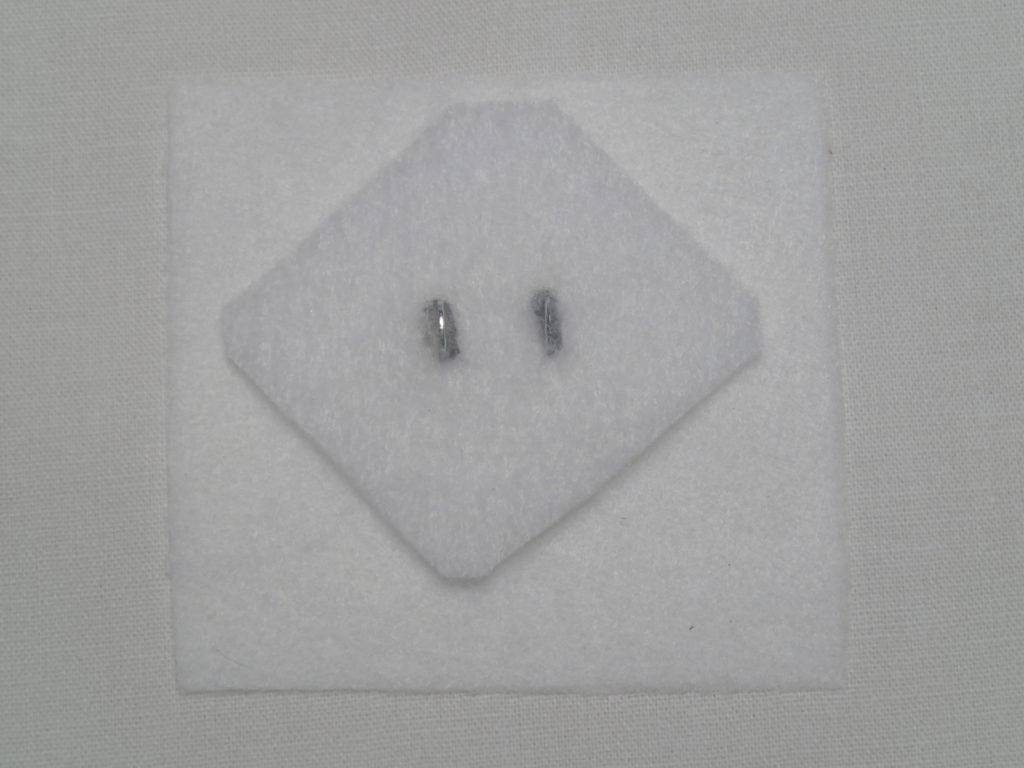
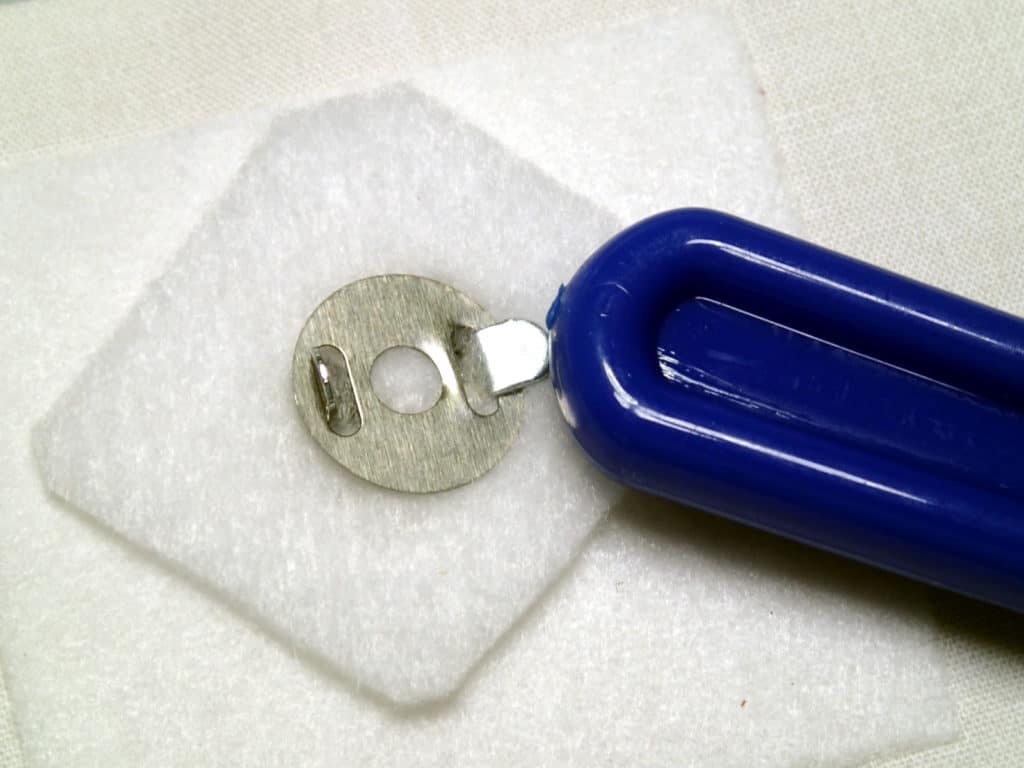
Put the washer on the back and you’ll probably need to use some kind of tool to push those prongs nice and flat against the fabric.
I usually push with the blunt end of my seam ripper because it can hurt your fingers otherwise. You can also press the prongs against the edge of your desk to fold them over. A flat bladed small screw driver can be used as well. Use what ever works for you.
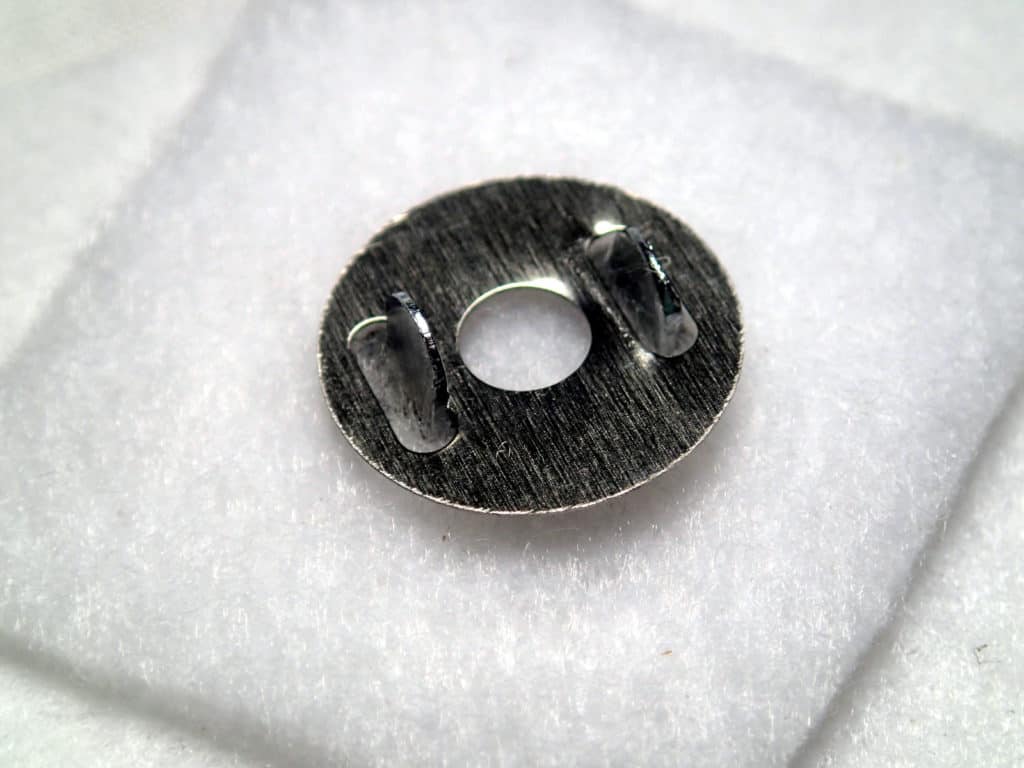
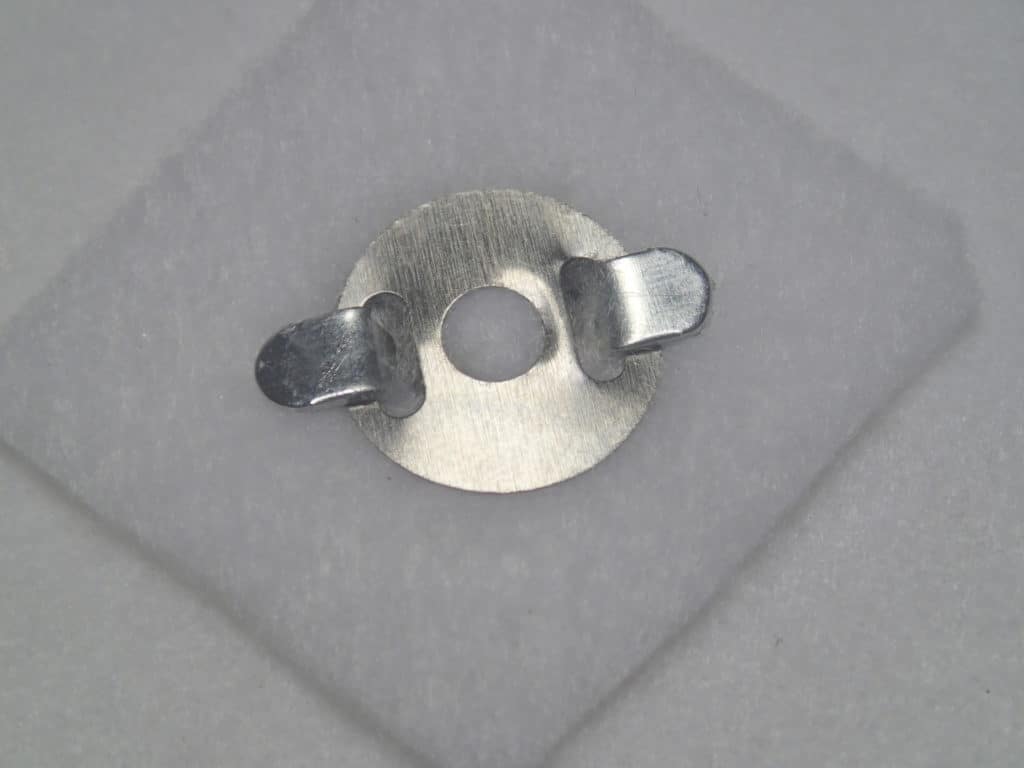
Press your prongs OUT rather than IN. It provides a more secure finish, makes the snap less likely to spin, tear or pull through, and makes the snap less bulky and prominent.
Download this article as a PDF
This article has been converted to a print-friendly PDF file to make downloading, saving and printing it easy. Any videos in the article still work. It’s available for optional purchase for your convenience.
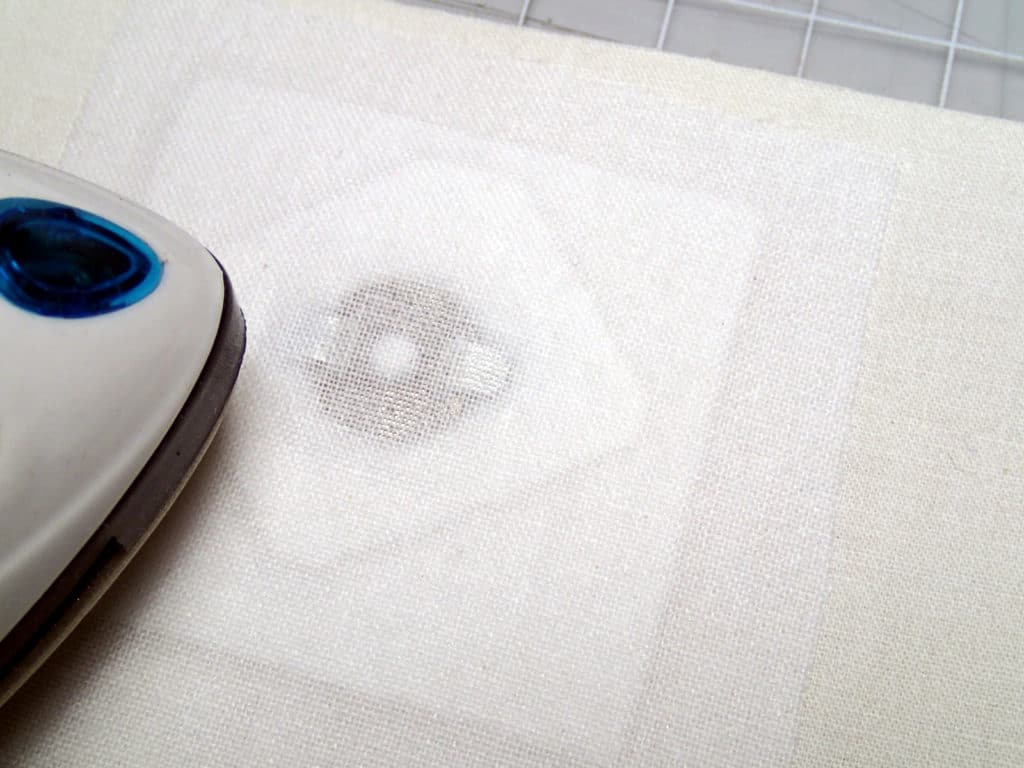
Optional for the perfectionists amongst us – For the perfect finish, take a piece of fusible interfacing and fuse it over the whole lot. I’m using woven fusible interfacing but you can even use a piece of duct tape across the back! It keeps everything neatly in place and also prevents any wear and tear from the metal parts on the wrong side of the snap rubbing on your fabric.
Fit the other side of the snap, check that everything lines up OK, and you are done!
I hope that was useful and included all of the steps you need to install your magnetic snaps in your bag, purse or project. Don’t be shy, leave me a comment below and tell me about any hardware struggles or questions you have and I’ll try to include a tutorial on those in future.