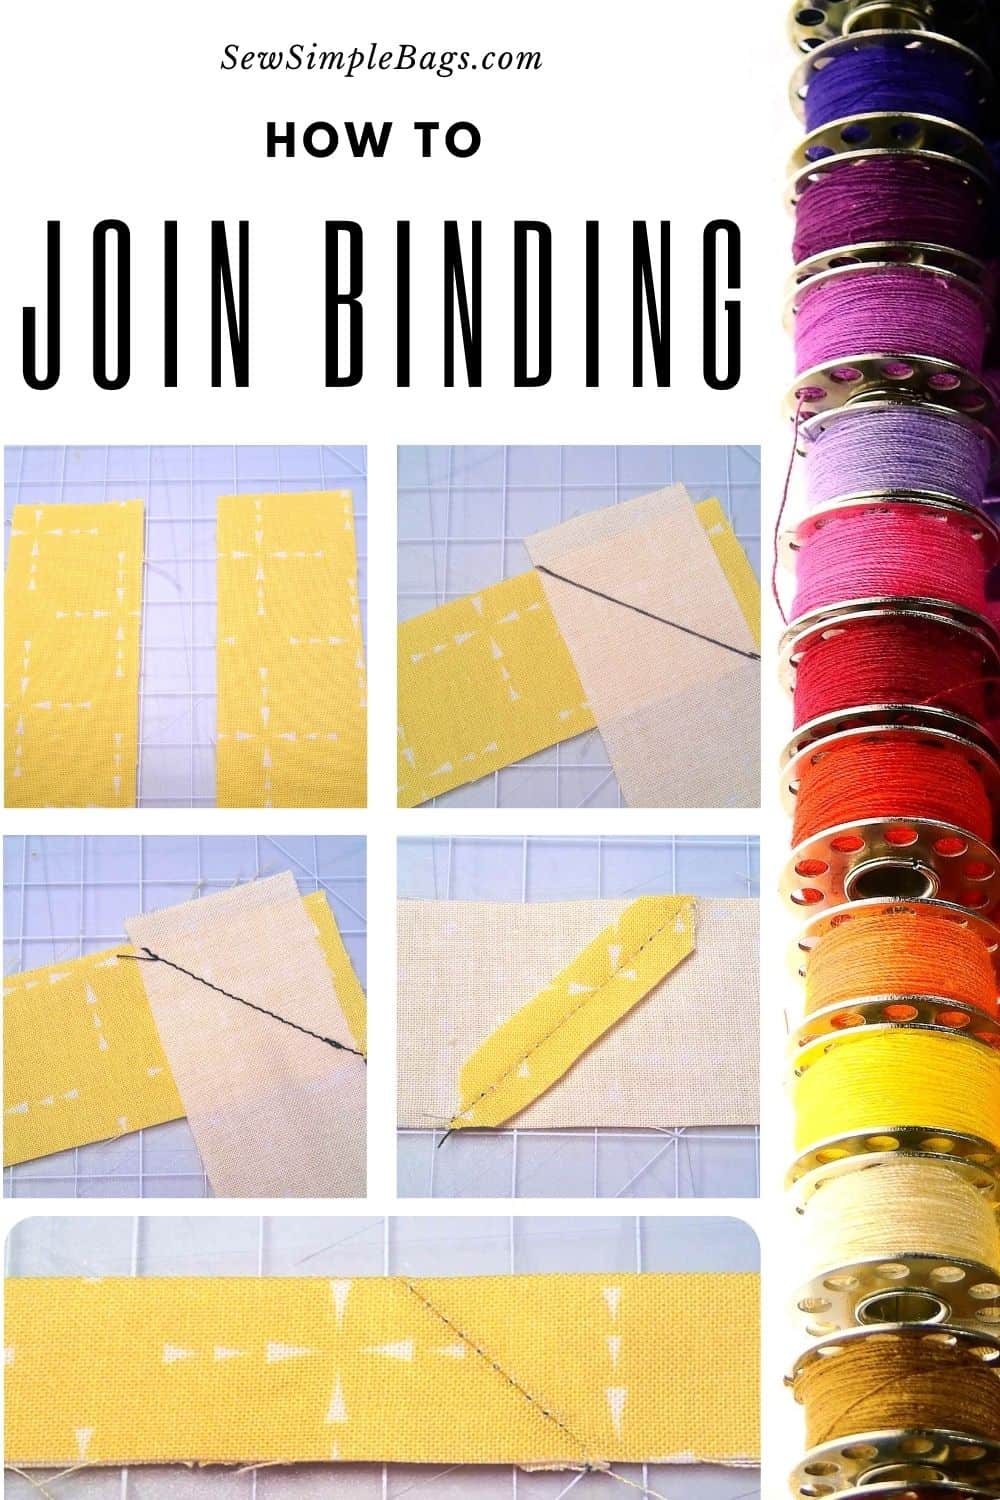
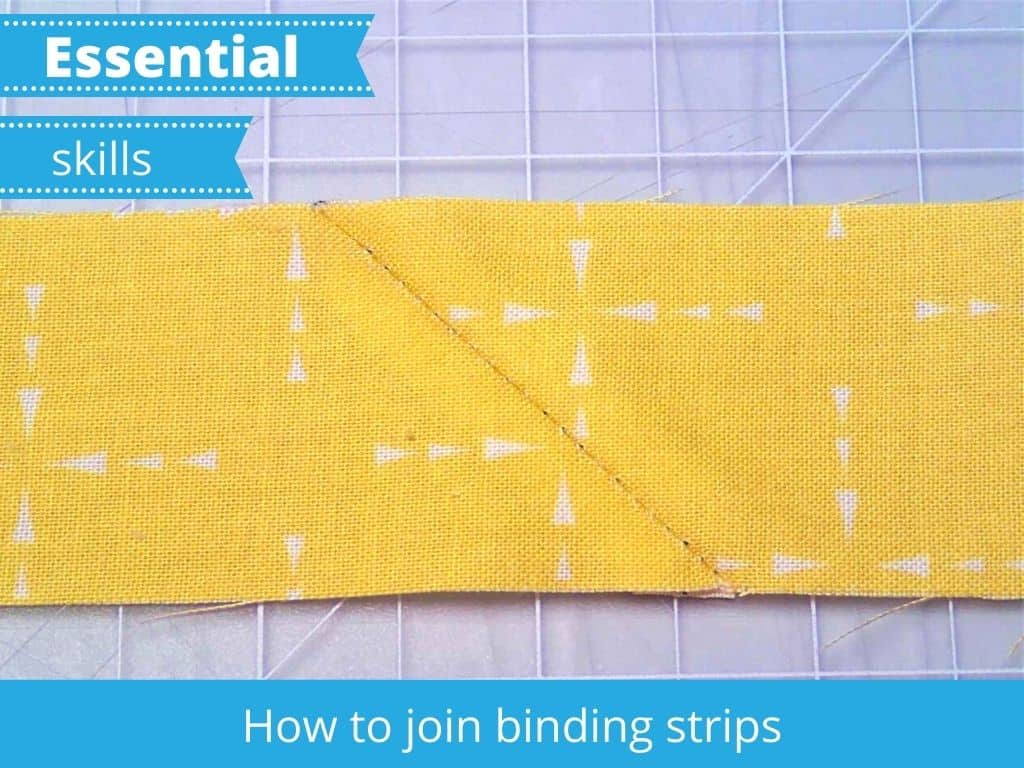
How to join binding strips and reduce bulk with a diagonal seam.
This is a quick step by step photo tutorial today on how to join straight binding strips when you need a piece longer than the width of your fabric. If using quilting cotton, which is probably most likely, our usable fabric width will be 42-44 inches but even for quite small projects, you will often need to join two or more binding strips to get the complete length you need.
If you simply sew the two pieces of fabric together straight across, when you later fold that binding and have to sew through all the layers, you have the layers from your underlying project, the layers from the folded binding strip and then also the layers from the seam allowance all in the exact same point. It can create a really bulky area that is unsightly and difficult to sew through, especially accurately and neatly.
So here I will show you in just a few photos how you can join two lengths of straight binding with a diagonal seam which then spreads out that bulk from the seam over a wider area. Let’s do it!
In my upcoming pattern, the Canterbury Zipper Pouch, there are two different sizes. The larger of the two requires a binding strip that is 50 inches long, and my 1 yard of fabric was only 42 inches wide. So I needed to join my binding strip to make a complete length.
How to join your binding strips with a diagonal seam
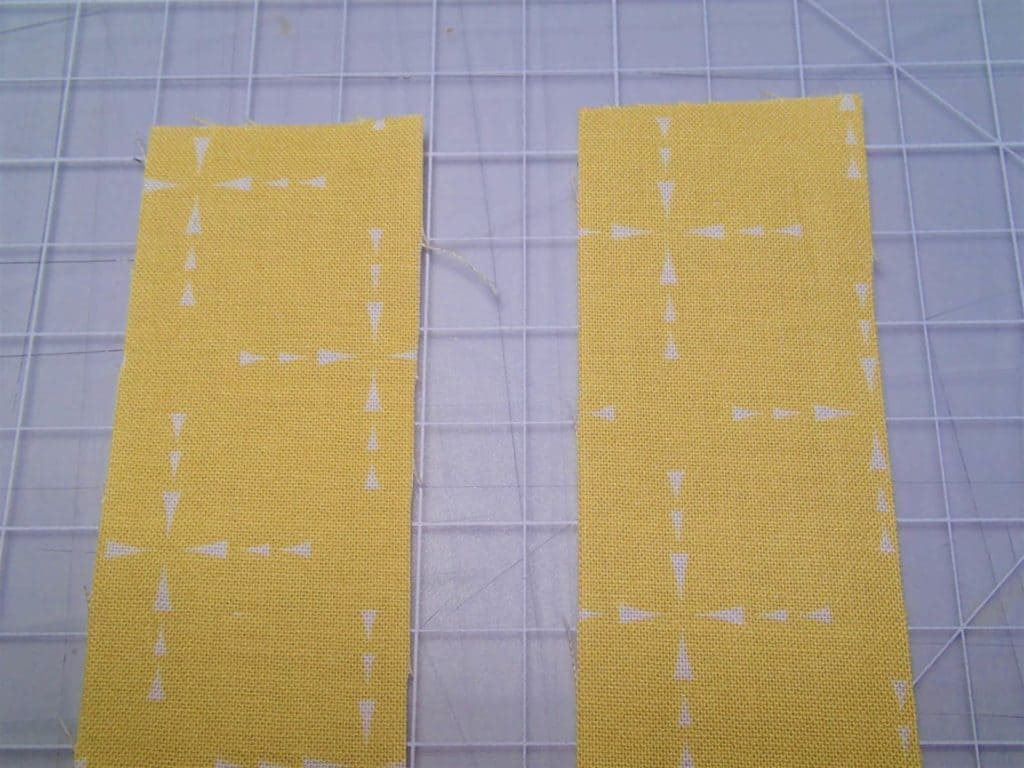
1. Cut your two pieces (or more) of fabric accurately across the grain of your fabric. Note that we are using straight binding in this example (cut straight across the fabric on the grain), but this method of joining works equally for bias cut strips of binding.
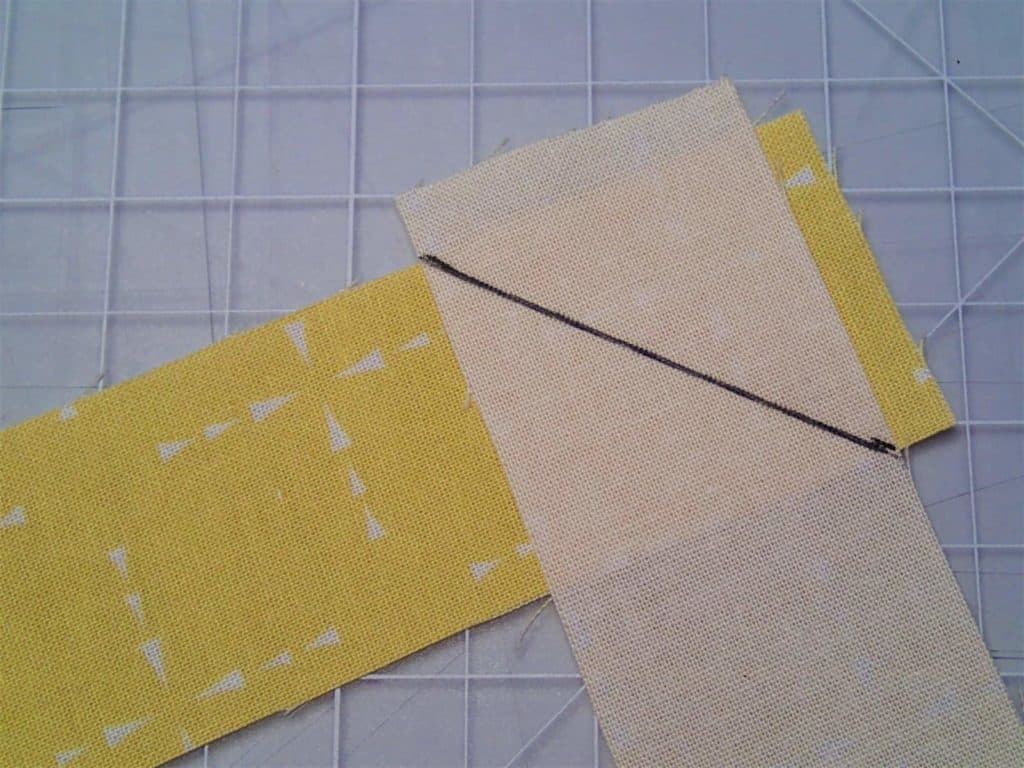
2. Place your two pieces of fabric right sides together, with the ends at a right angle to each other as shown below. I find it easiest to let the ends overhang just a little rather than line them up exactly with raw edges meeting.
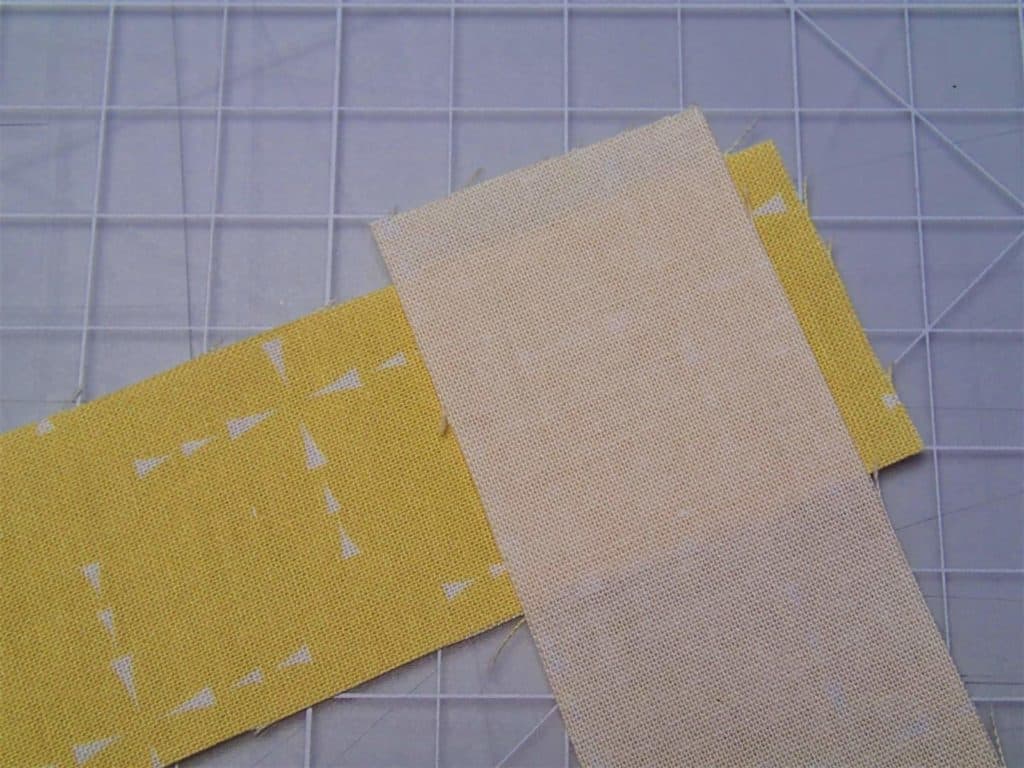
3. If it helps you, draw or mark a line diagonally as shown below. Your two raw ends should be on one side of the diagonal line and the two lengths of binding on the other side of the diagonal line. The diagonal line never starts or ends between the two raw ends of the fabric.
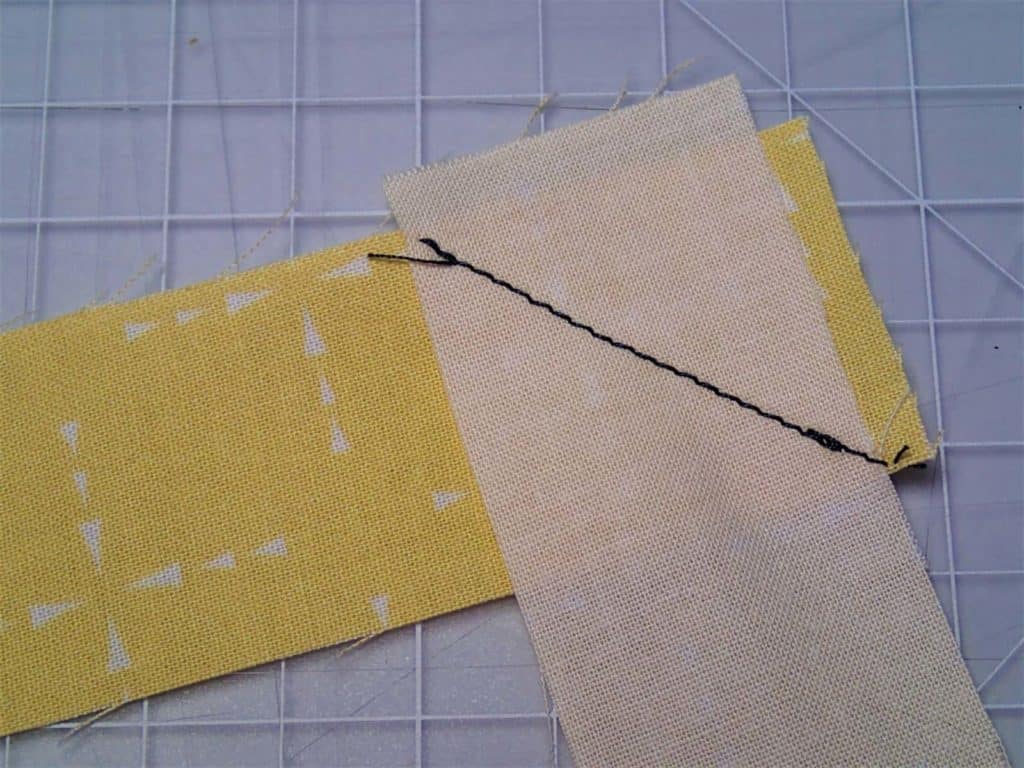
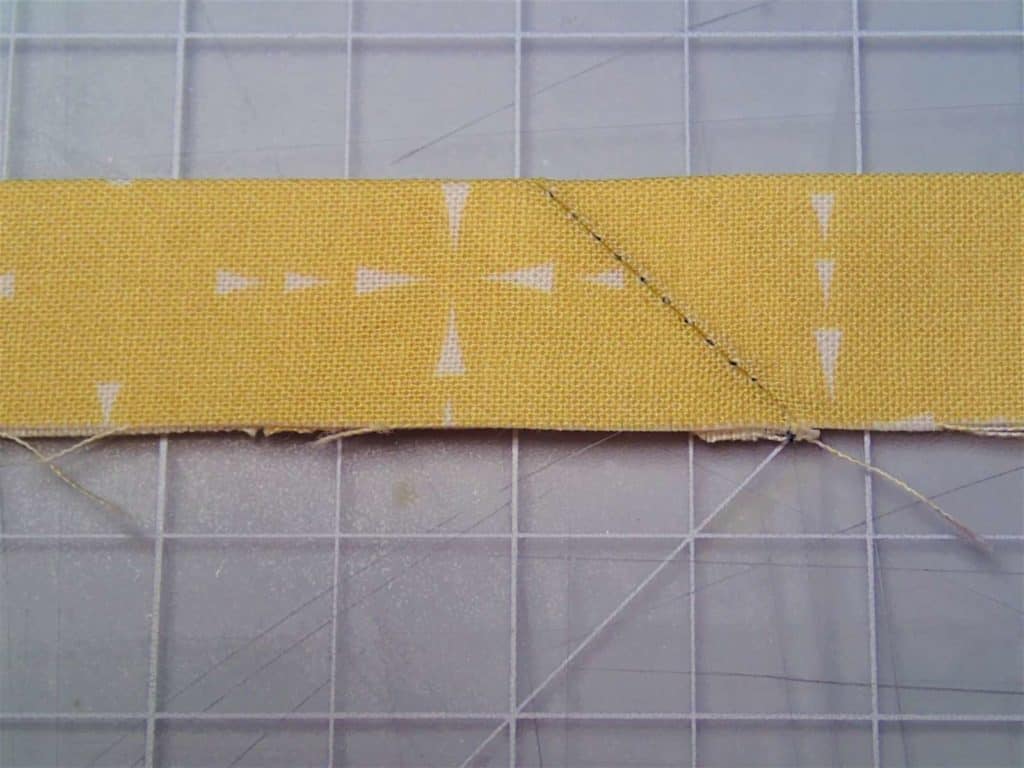
4. Stitch across the line with your regular sewing stitch length, securing your stitching at both ends. You can backstitch to secure, or tie your threads. Use a matching thread for best results. I’m using a contrast thread so you can see my stitching more easily.
5. Trim your seam allowance to 1/4 inch. Press the seam open and snip off the tiny triangles that fall outside the length of the binding to make everything nice and neat. Pressing the seam allowance open reduces the bulk when you fold the binding later.
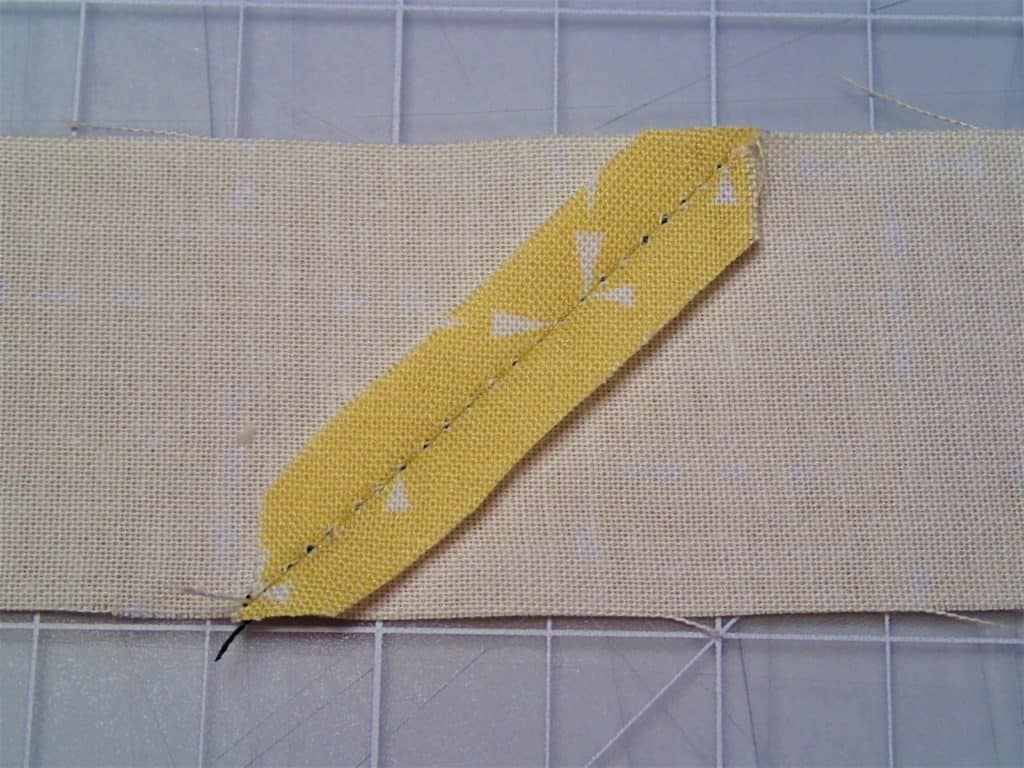
Your binding is now joined with a diagonal seam and ready to use. When folding the binding later, the thickness from the seam won’t all fall in one place and will be spread out over a greater length, keeping your seams more manageable.
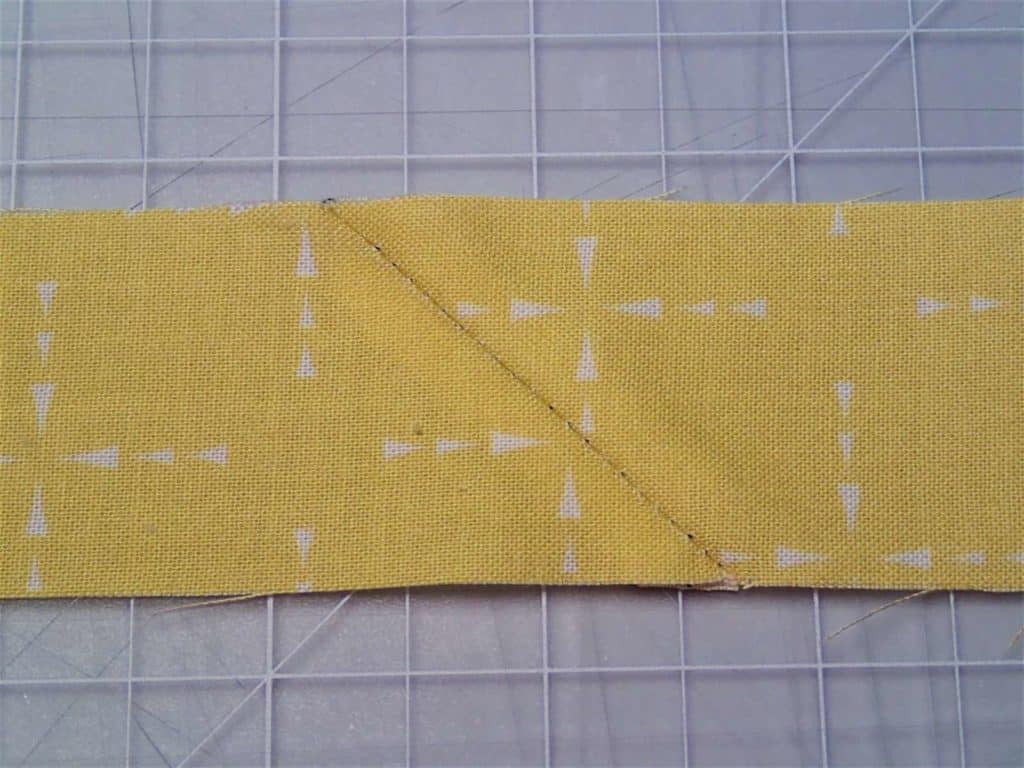
And here’s the final picture of the binding folded. Once you try this at home you’ll get a much better idea of how, when you fold the binding, the seam and seam allowance underneath is spread out over a wider length of the binding. Now sewing it to your project, folding over and finishing the back will be so much easier.
Don’t forget to check out the pattern for the Canterbury Zipper Pouch if you haven’t already, and any other articles on this site that mention binding.
Download this article as a PDF
This article has been converted to a print-friendly PDF file to make downloading, saving and printing it easy. Any videos in the article still work. It’s available for optional purchase for your convenience.