Why things go wrong when sewing diagonal seams, and how to fix it
There’s this funny thing when you sew diagonal seams that it took me a while to get my head around. You seem to do everything right, but things just don’t line up properly. Sew a slanted seam for the first time and when you open up the seam to press it, the edges of your fabric are wonky. You might come across this if you are joining bias tape, or just if you are sewing any kind of pattern that has diagonal seam lines as part of the design.
Why mention this now? My next pattern coming soon (The Kent Clutch Bag) has diagonal seams and if you aren’t aware of what can go wrong, it might catch you out and you may not know how to fix it. So let’s take a closer look at what can go wrong when you sew diagonal seams, why it happens, and how to fix it.
How to sew a slanted or bias seam
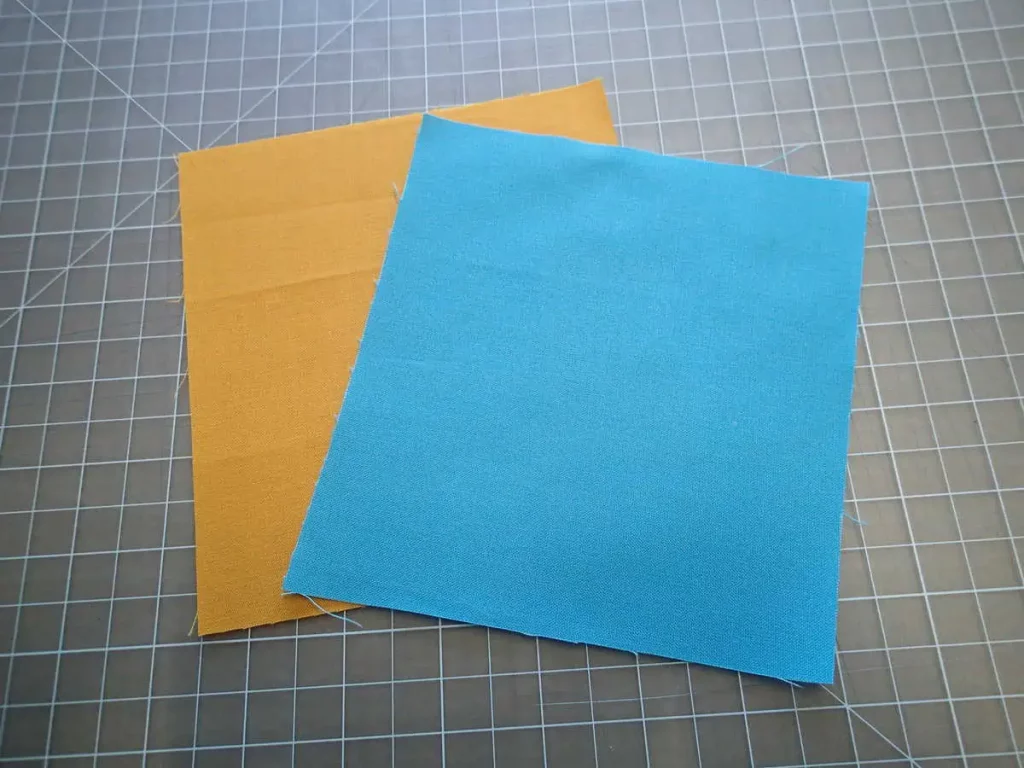
Let’s start with two squares of fabric – any size. Then we’ll cut them roughly in half, but not parallel to the edges or directly across the diagonal from point to point, but on a steep slant from one side to the other so we get what appear to be irregular pieces. Both our blue and orange pieces are cut the same.
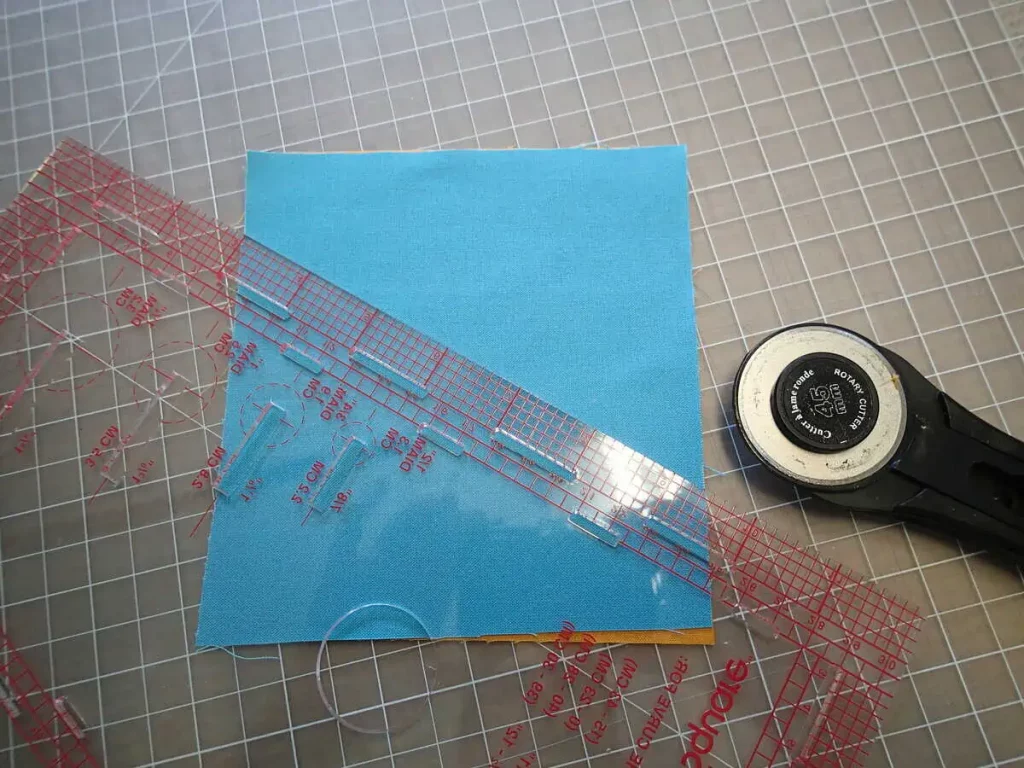
Ok, so far so good. We end up with two strange-looking pieces with a slanted line cut through the middle.

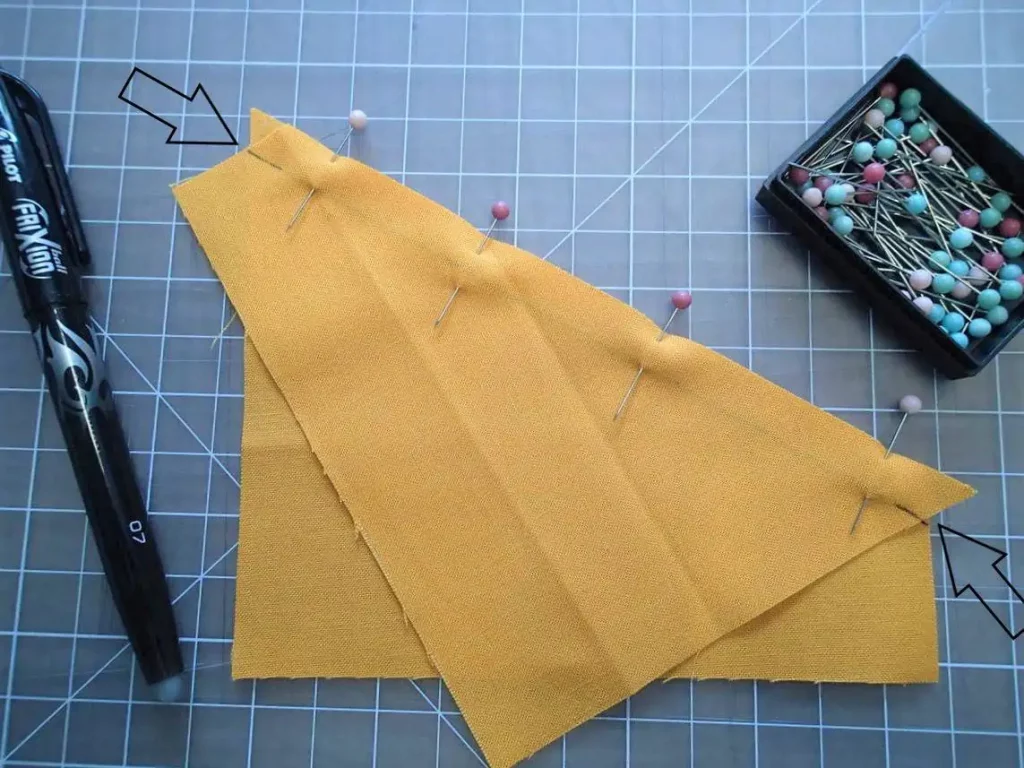
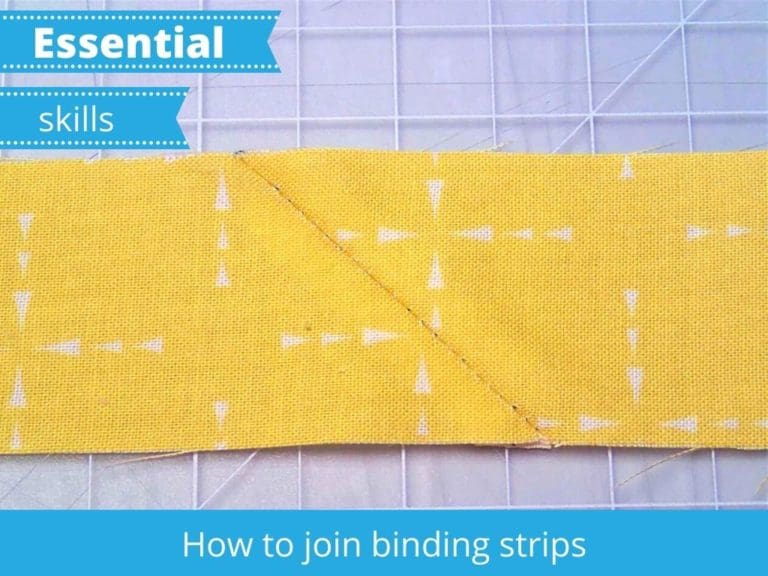
Now we are going to sew that seam back together again to make the fabric whole. In practice you will be sewing two different fabrics together for your pattern, not just cutting a piece in half and sewing it back together. Let’s start by matching our raw edges (along the line that we cut) and pin the fabric.
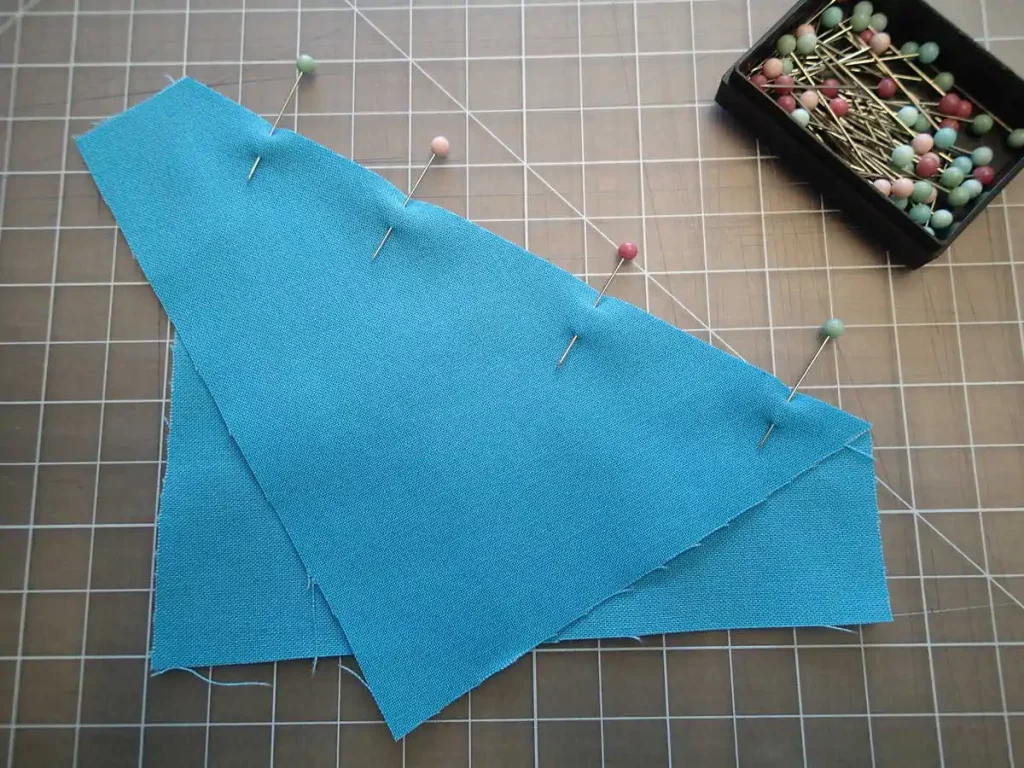
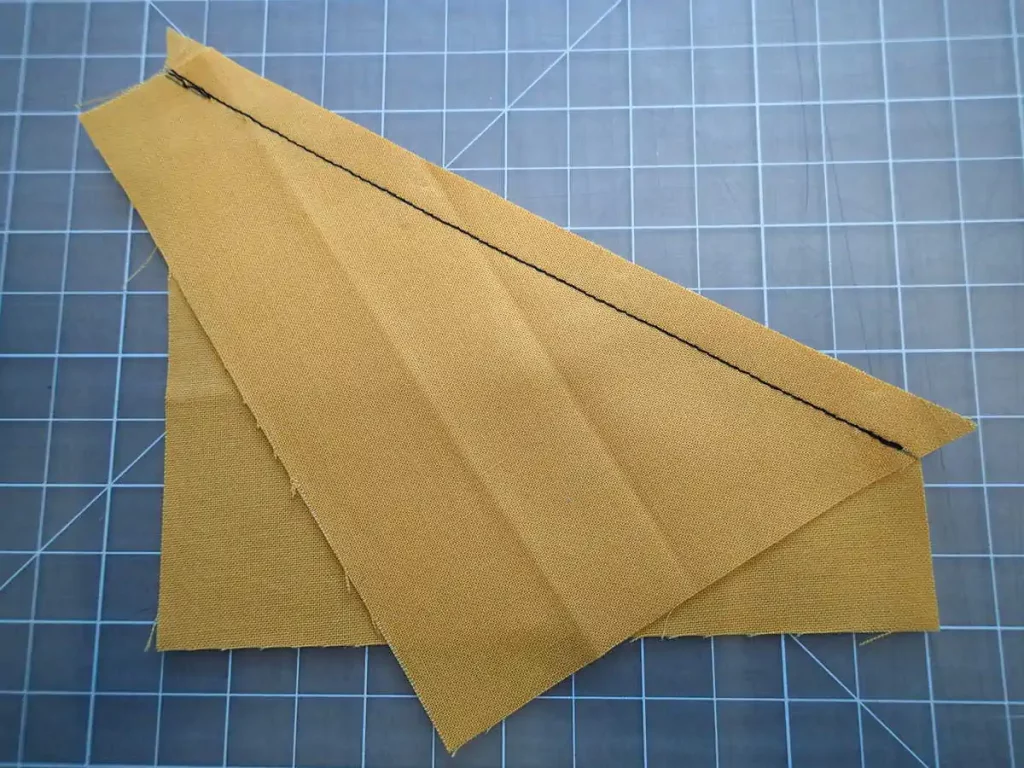
Now we’ll sew the two pieces together with a 3/8 th inch seam allowance. So far so good. Everything looks as it should.
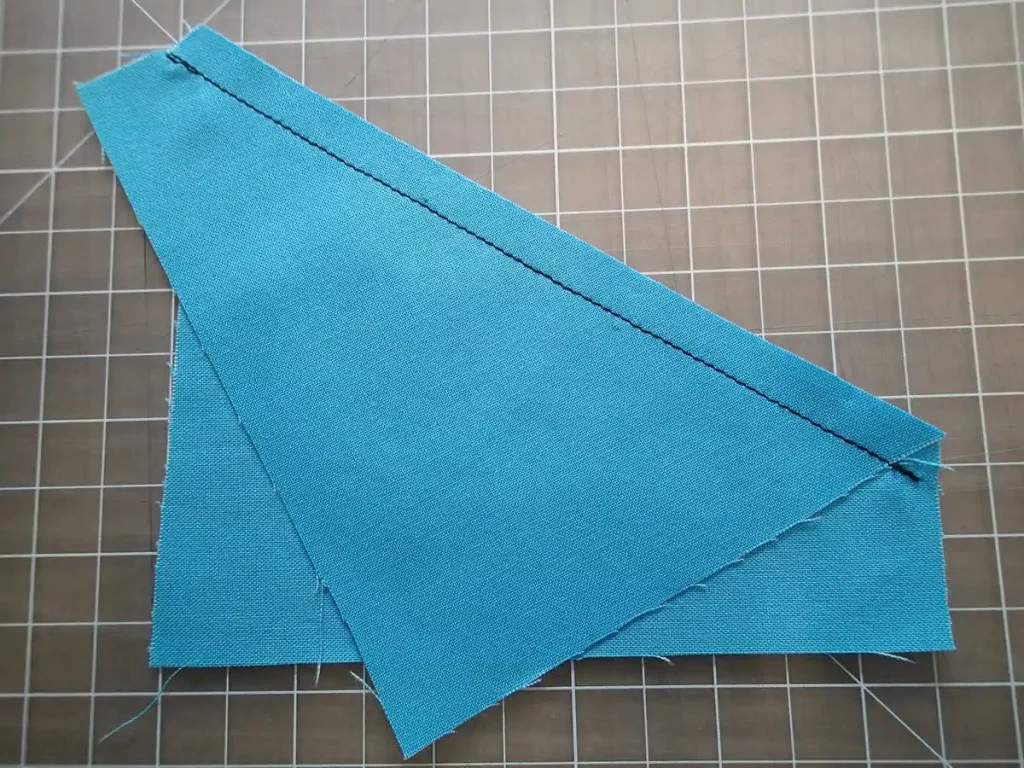
But when we open the seam to press it…that definitely doesn’t look right! What’s gone wrong here? See how the edges of the fabric don’t line up any more? It’s out…and not just by a little bit! If we have to trim those edges now to make things level and square our fabric will then be too small.
Note here – the bigger your seam allowance, the more your sides will be ‘off’.
So what went wrong?
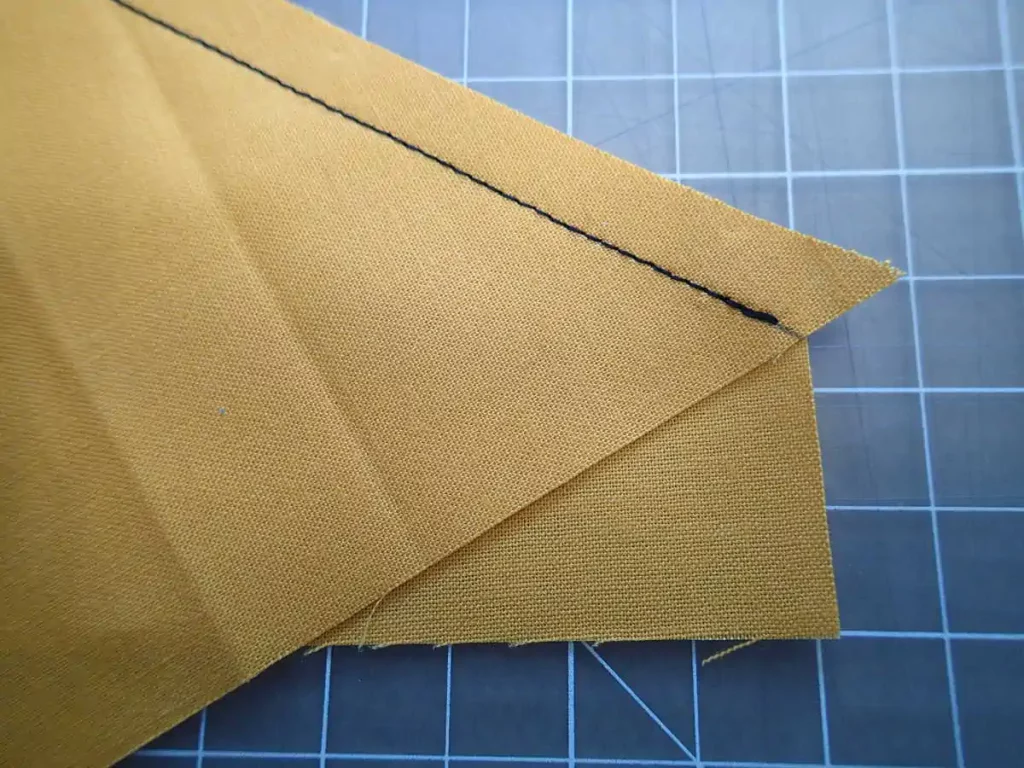
If you look closely, although we matched up our raw edges exactly, when we sewed along our stitching line, the fabric wasn’t matched exactly along the actual line where we sewed. The stitches at the start and end only sewed through the one layer of fabric. We hadn’t taken into account the diagonal nature of what we were sewing.
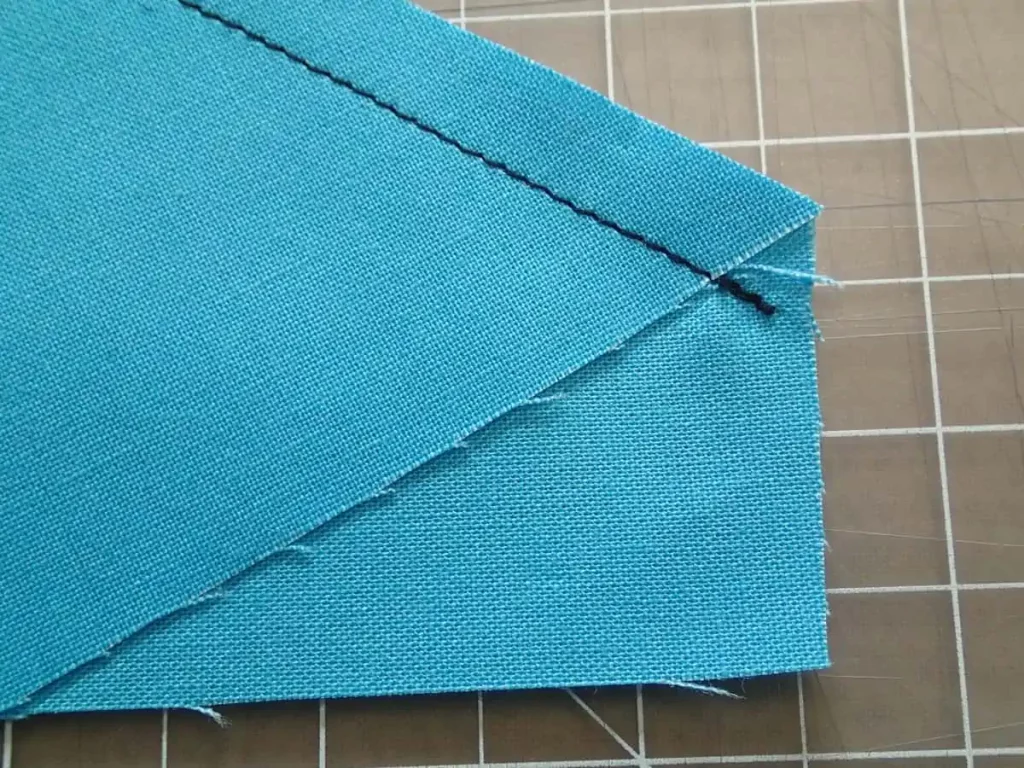
So when we open out and press, things are wonky because although the raw edges were aligned (the line where we had originally cut the fabric), our fabric was not correctly matched along the stitching line. It’s the stitching line on the two pieces of fabric that need to be matched.
The correct way to match and sew diagonal seams
So let’s try this again and see how we can correct it so our edges line up as they should.
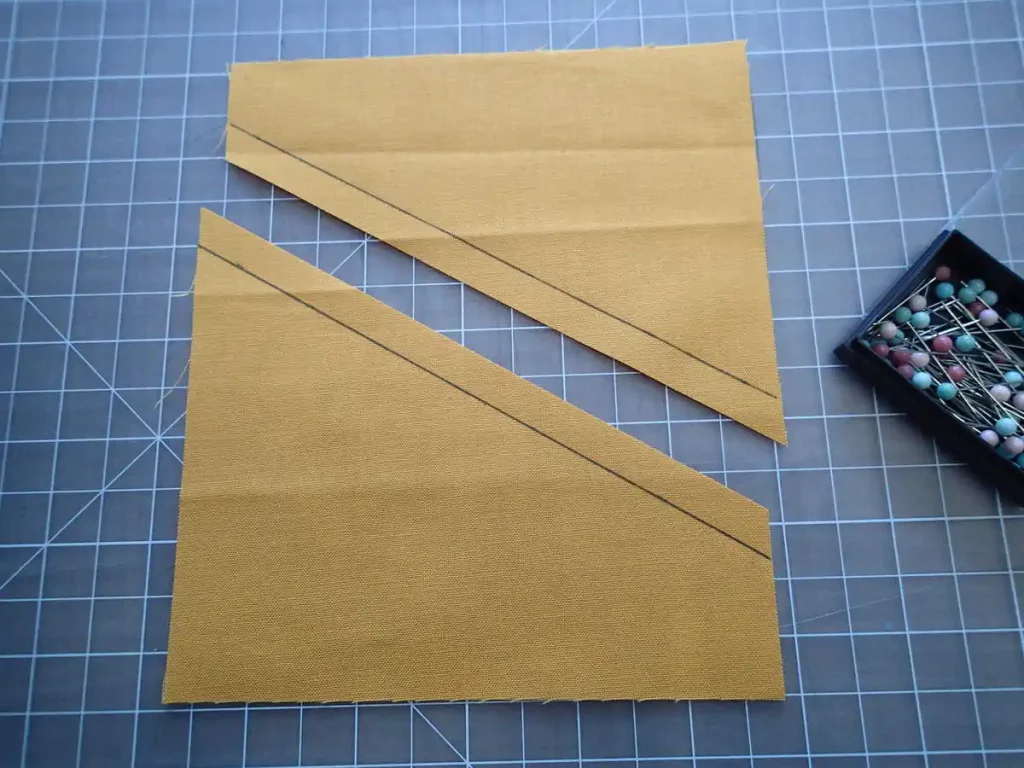
For the second example using the orange fabric, the fabric piece is cut exactly the same as the blue, but this time I have marked on each piece where my stitching line will be at 3/8th of an inch. You don’t need to fully mark your stitching lines if you do this, but just be aware of where it is. Adding a small mark at the start and end of the fabric will help you line it up correctly.
When we now place our pieces of fabric right sides together to sew, make sure that the stitching lines are evenly matched to the fabric underneath. The fabric at the stitching line you marked meets right at the edge of the piece underneath. We’ll still match our raw edges too. So it looks a little odd, like it can’t be right, but stay with me!
We stitch along our 3/8th of an inch line, exactly the same as before. But this time our stitching line on the two pieces of fabric matches perfectly together and we don’t have any stitches that are only going through one layer of fabric.
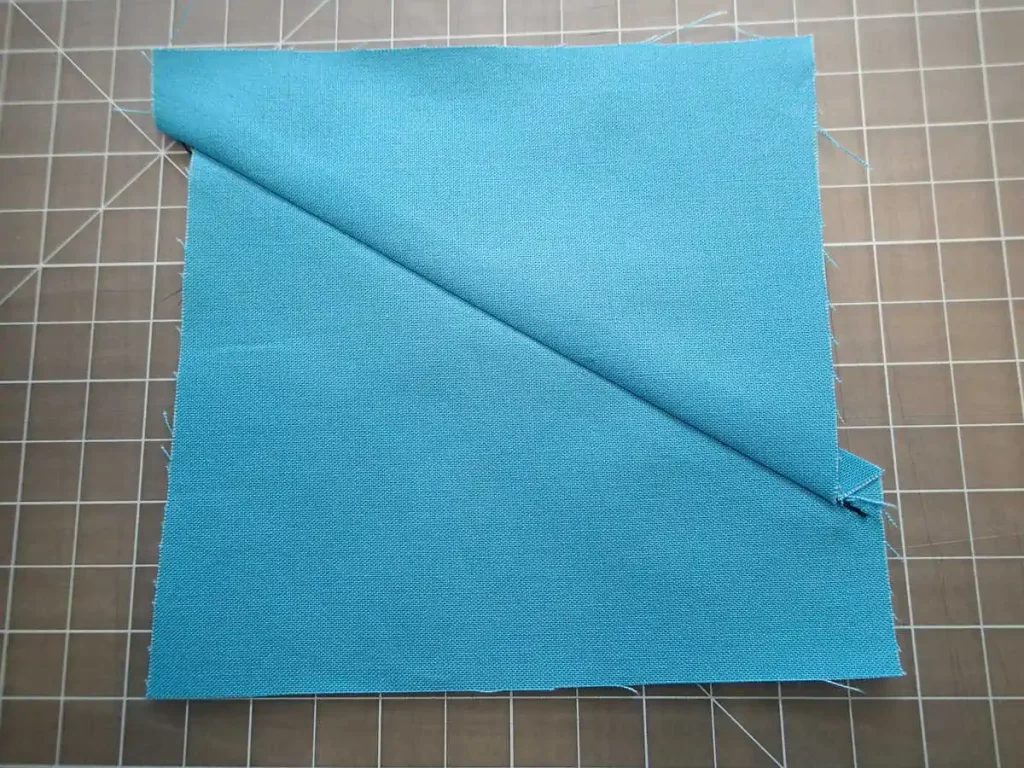
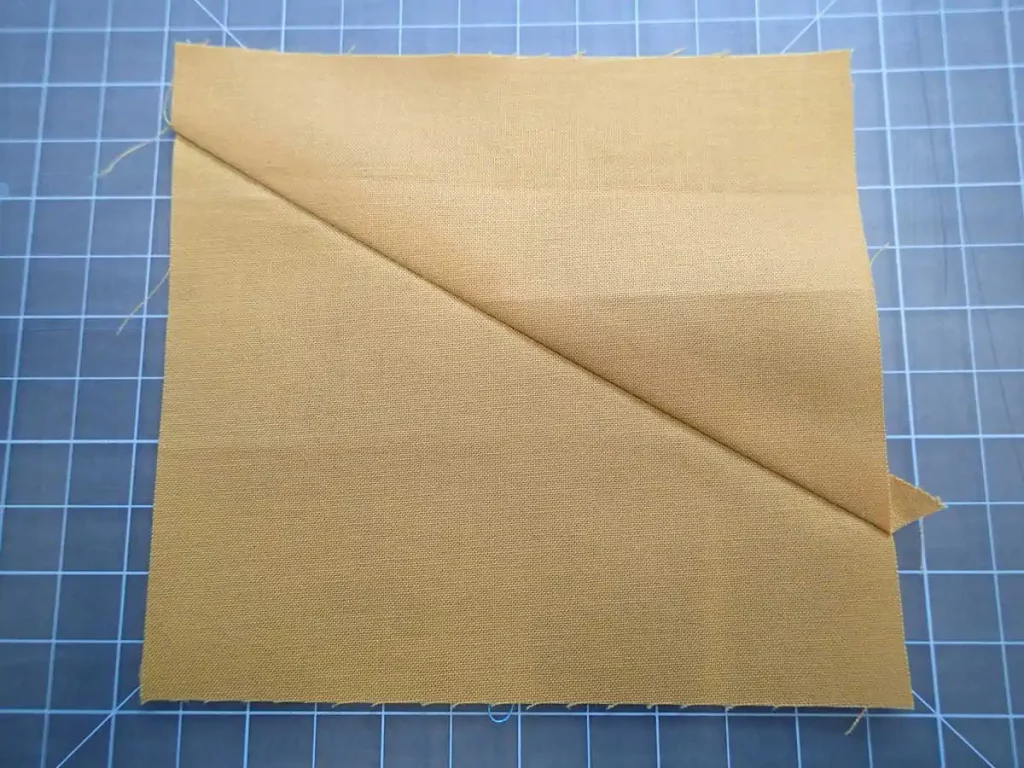
Let’s open out that seam and press it.
And just like magic – that looks much better. Take a look front and back and see how that matches up properly now. We just have the little triangle on the one edge which we can snip off, and now our two pieces have been sewn back together perfectly. All edges align and nothing needs to be trimmed to make it square.
Isn’t that interesting. So next time you have a seam that doesn’t quite turn out as you expected, make sure when you are matching and sewing, that you are matching stitching lines and not raw edges.
Why am I telling you all this now you may ask. Look out for a new sewing pattern coming soon that will have a diagonal seam – look out for the Kent Clutch Bag coming to the store soon. If you weren’t aware of exactly how to match those edges, your bag could turn out a funny shape and need trimming to straighten up those edges. Now you’ll know better and be able to get the perfect finish.
It can also happen when you are trying to fit a gusset onto the side panel of a bag – the gusset appears to be far too big and has to be ‘eased’ to fit. But use this same method of matching the stitching lines and not the edges of the fabric and suddenly it fits perfectly!

Thanks for this. Your patterns are awesome. This article helps a ton.